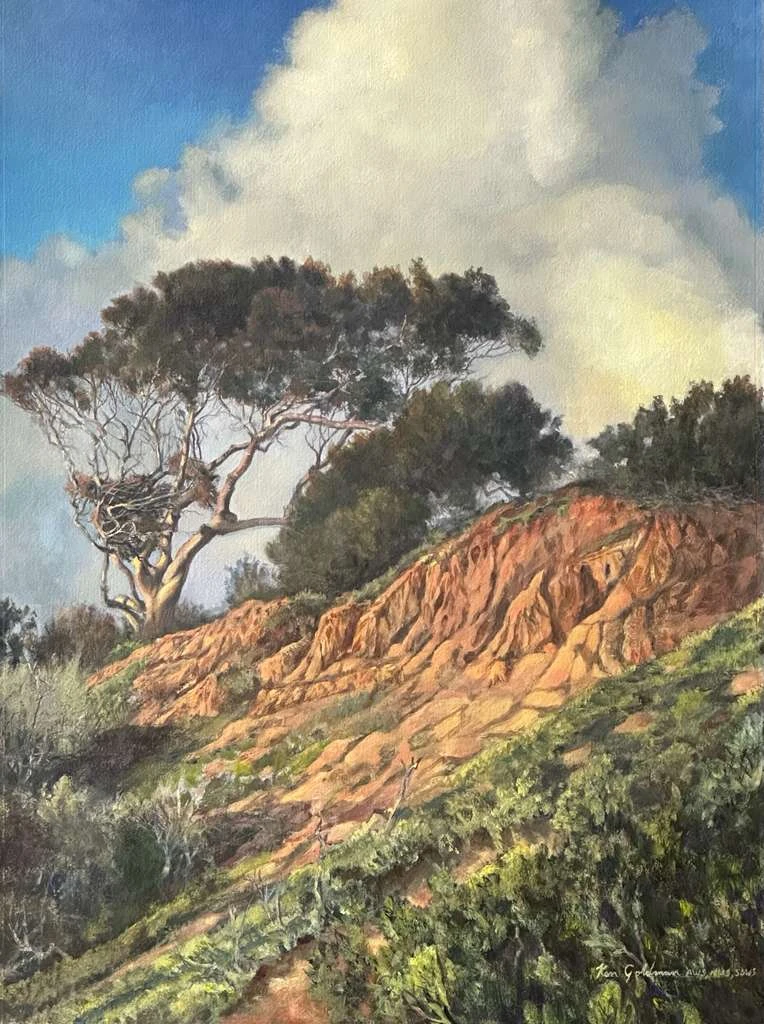
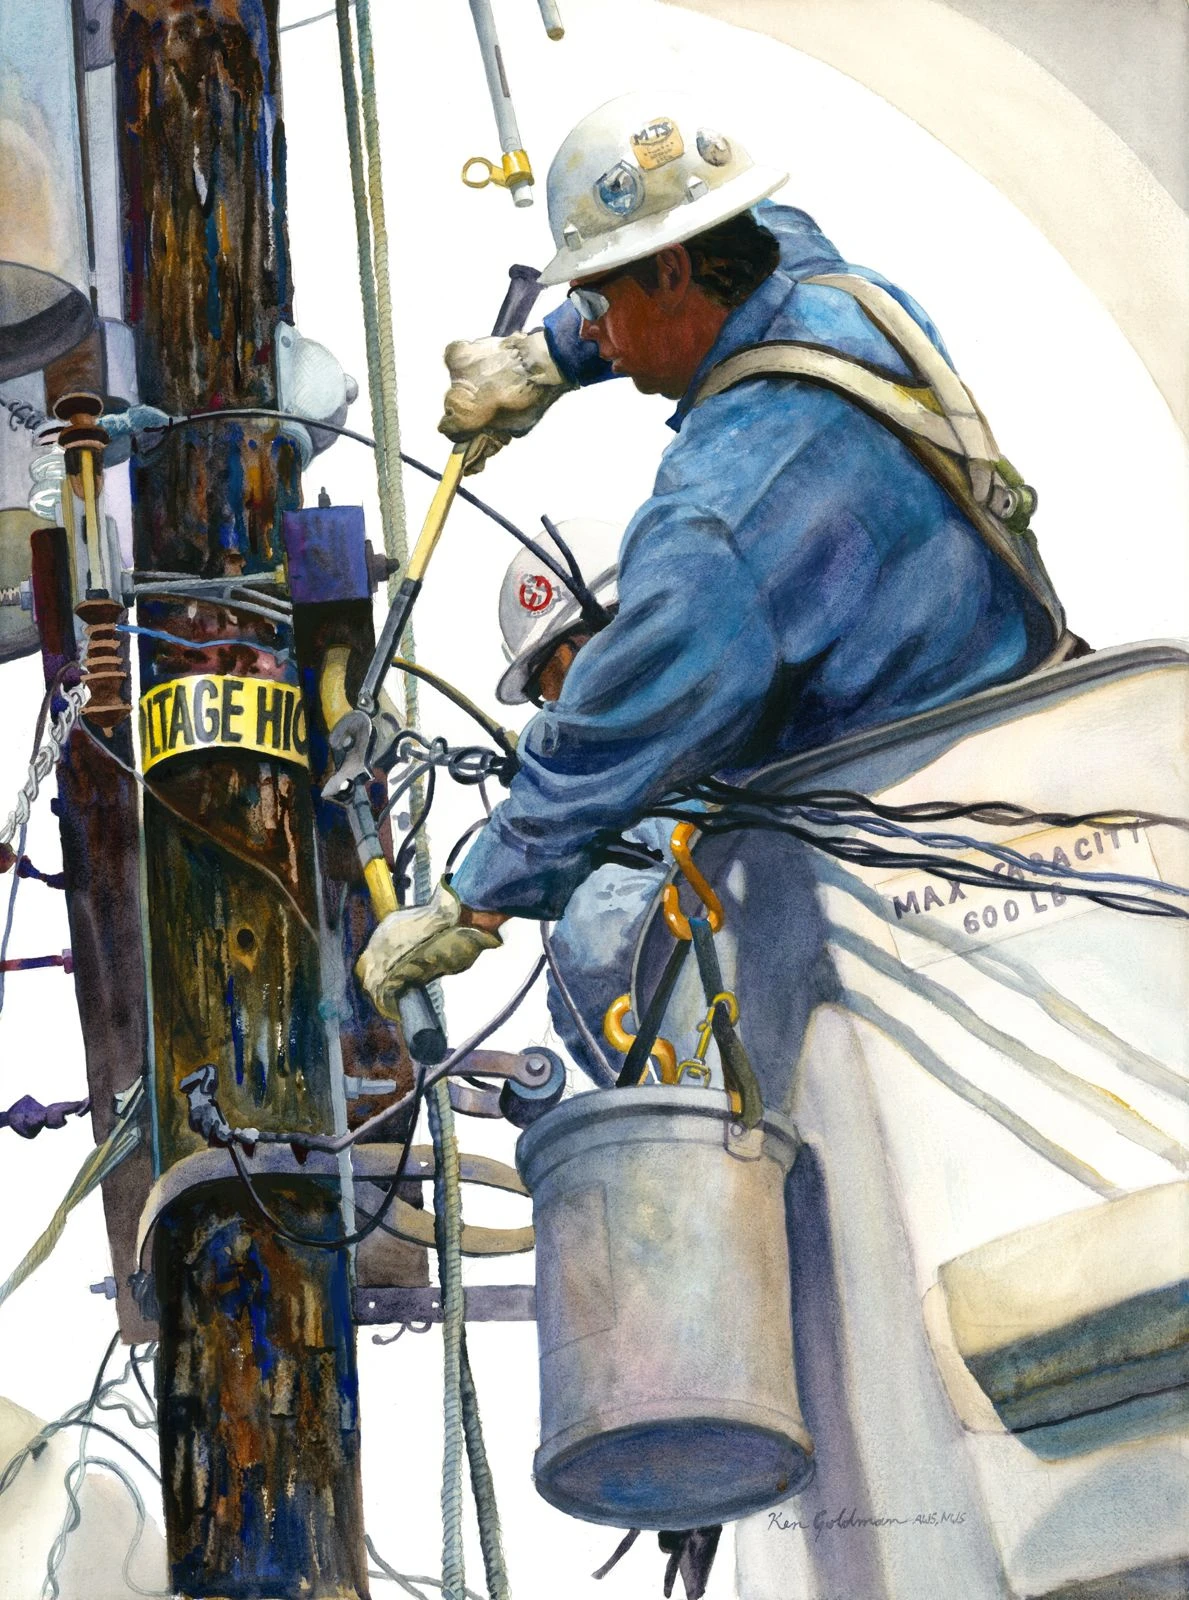
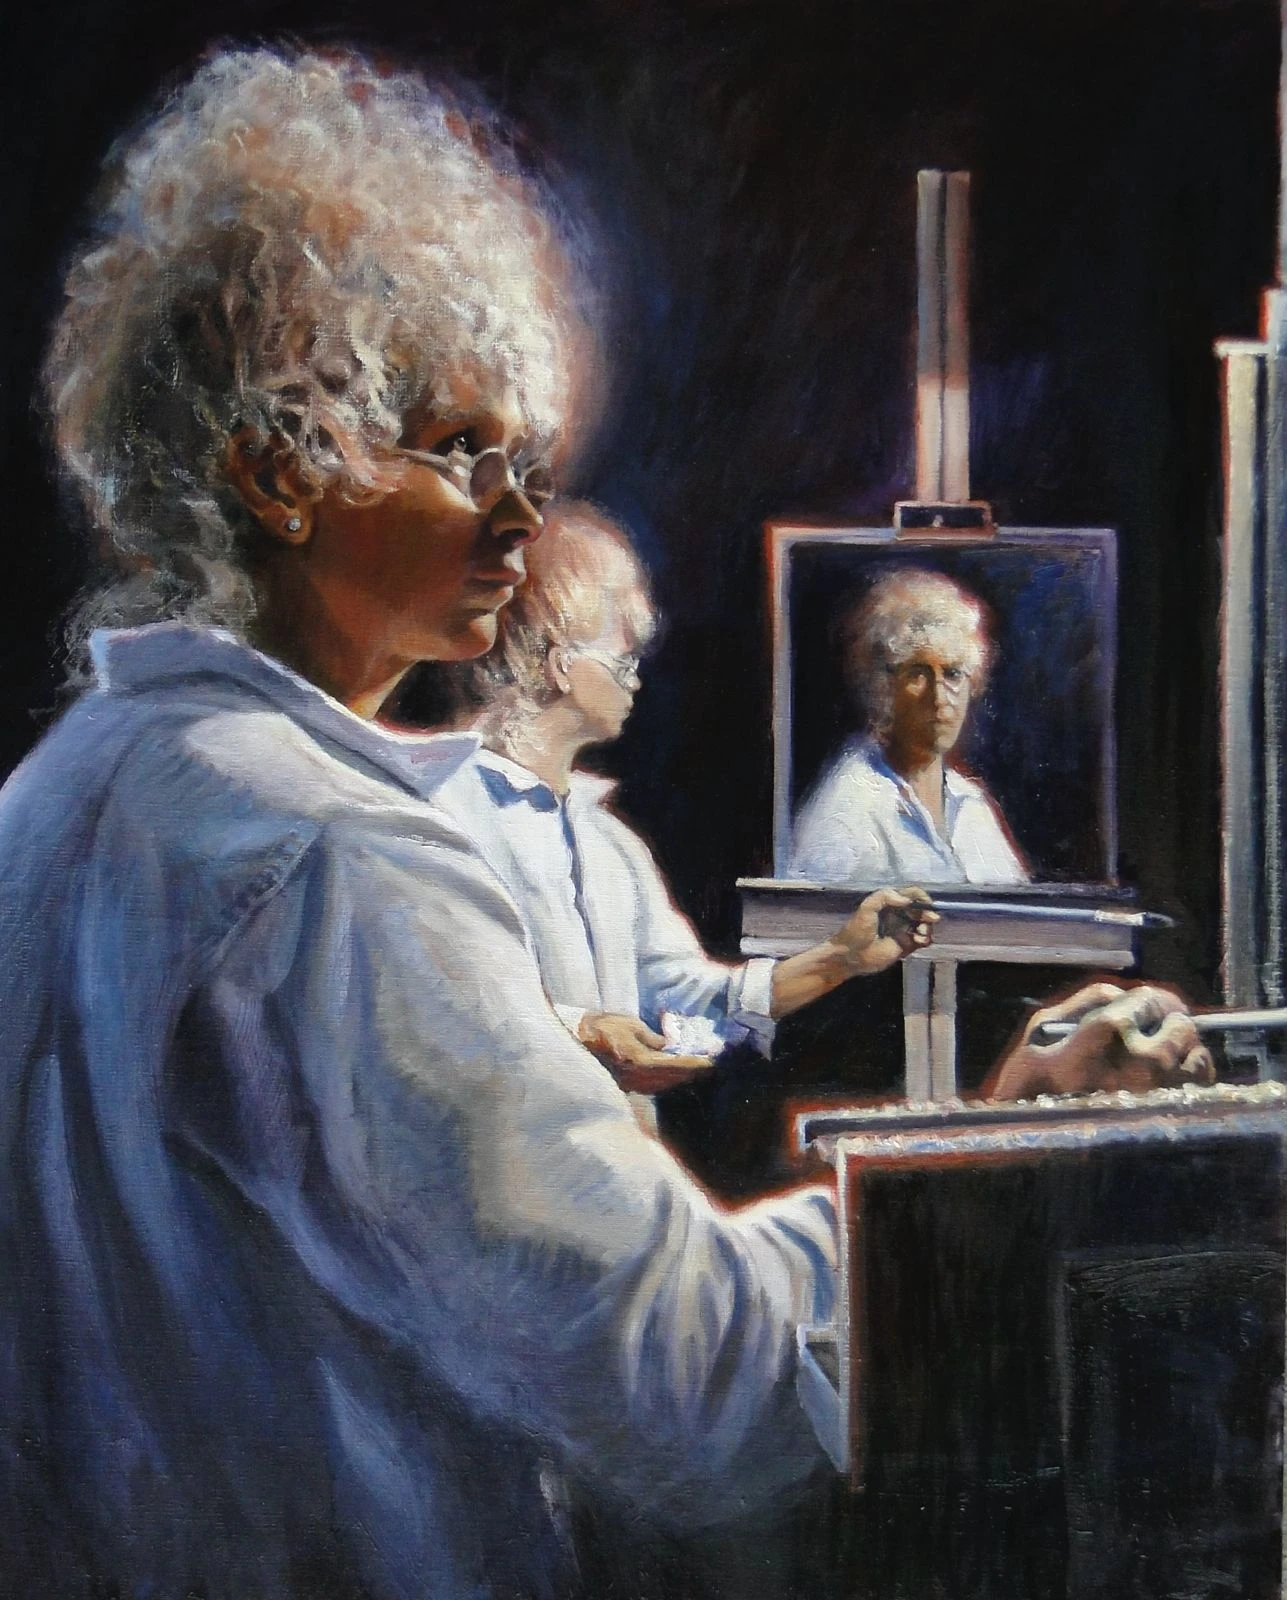
Landscapes with Depth
Course with Ken Goldman
Material: Watercolor
Number of paintings: 8
Course duration: 25 hours
Access: unlimited
What the course is about
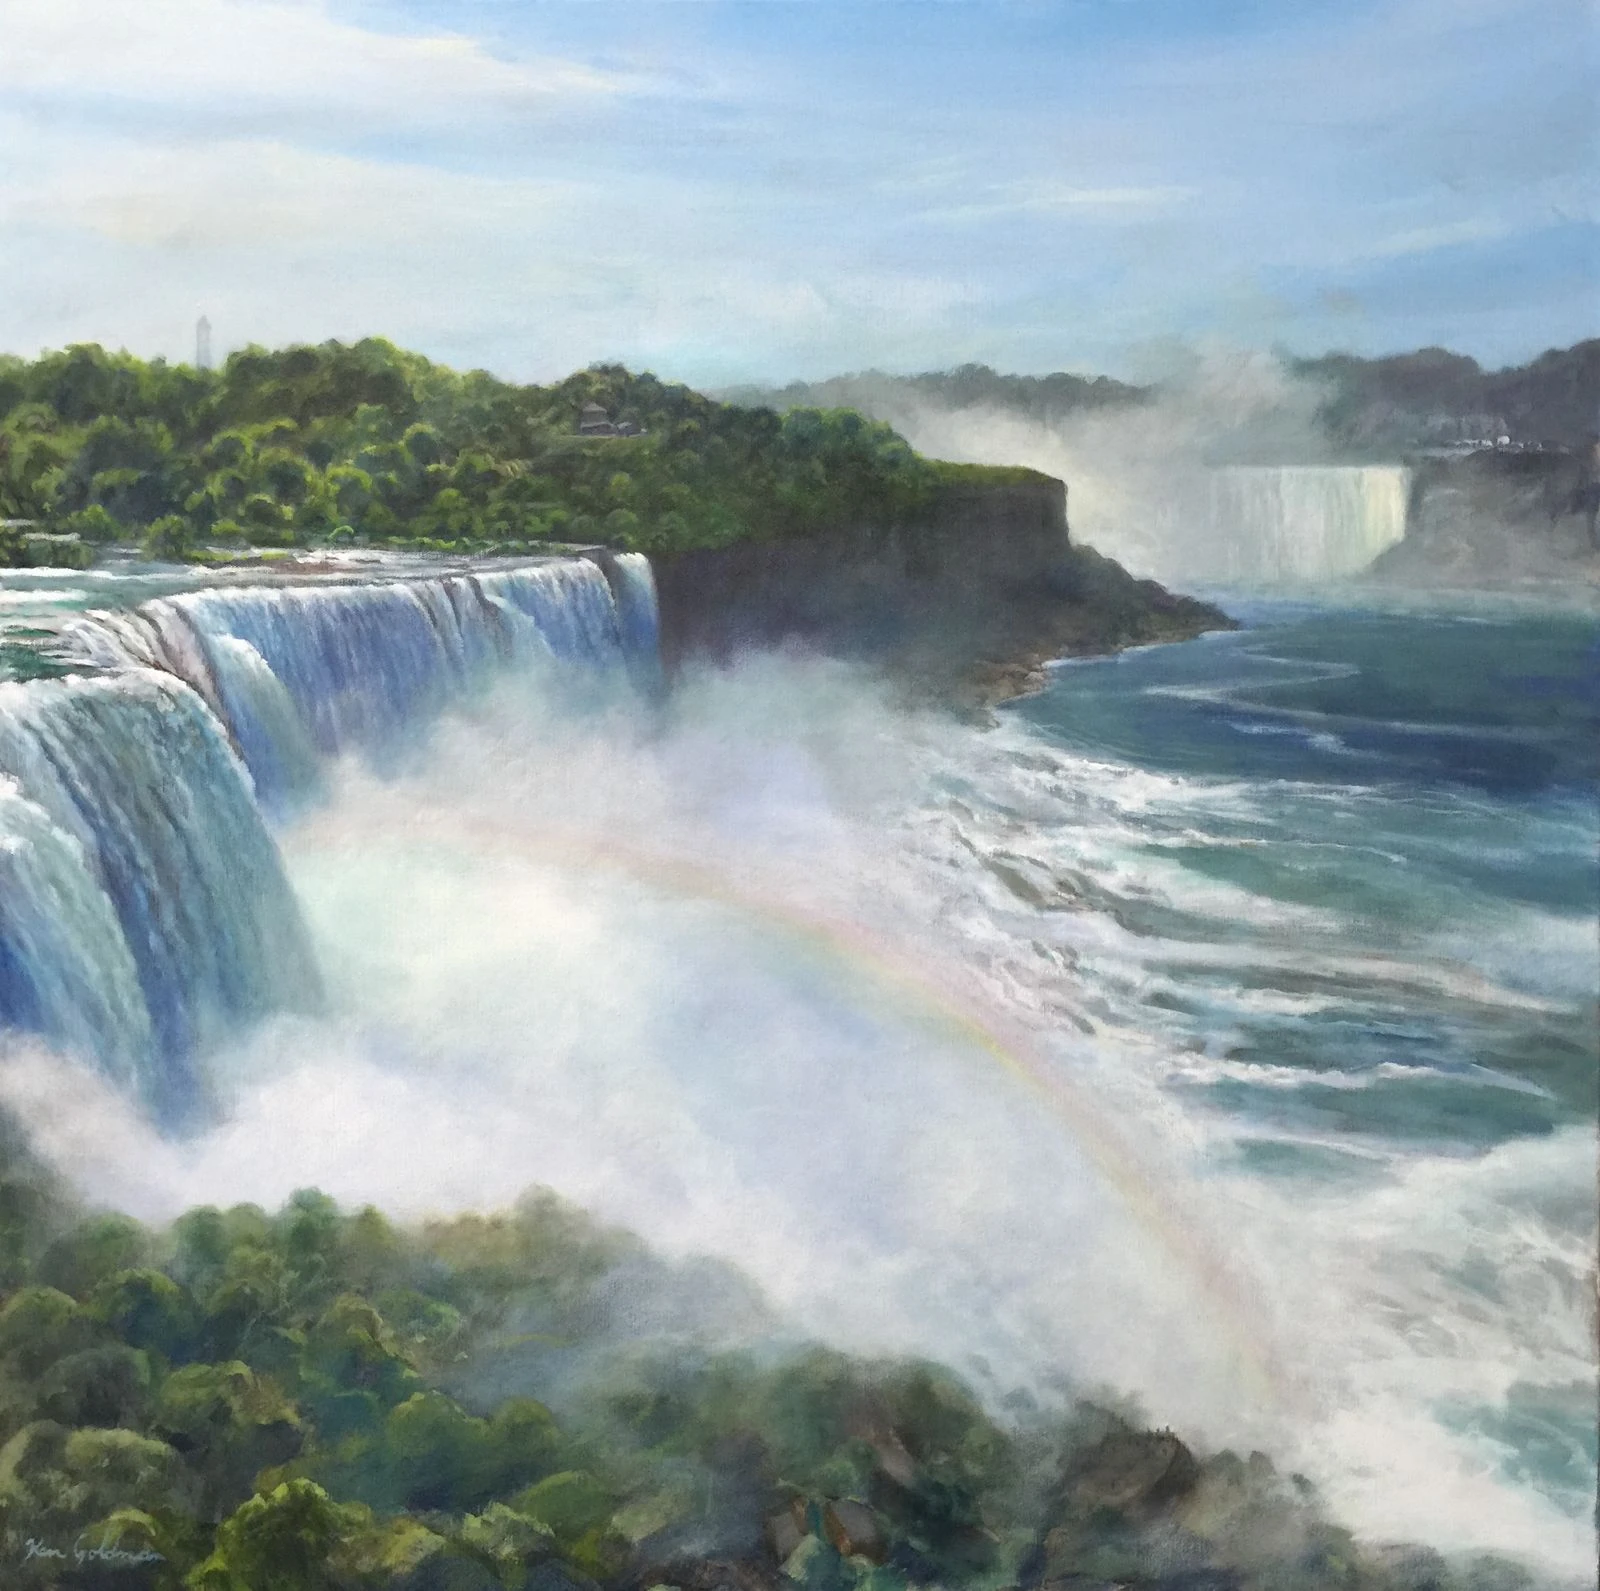
A landscape can be beautifully painted and still feel flat. In this course, I’ll show you how to make it feel full of light, distance, air, and movement.
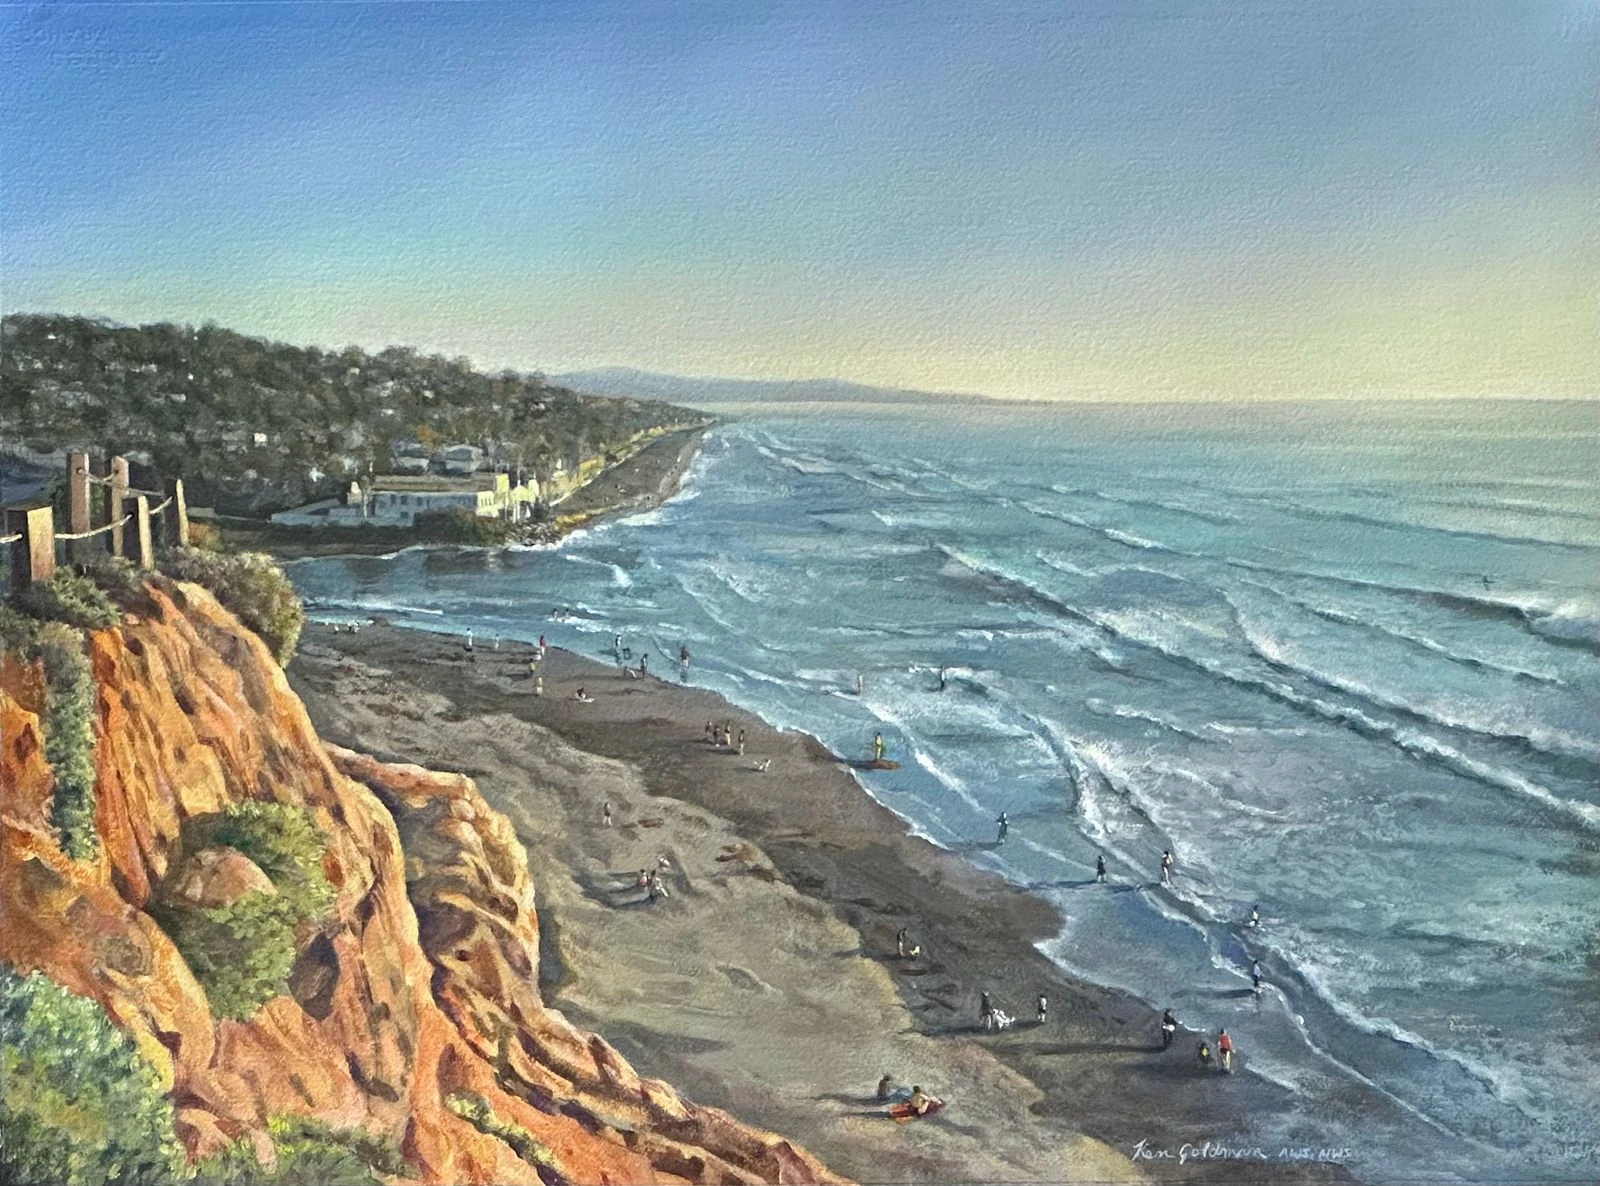
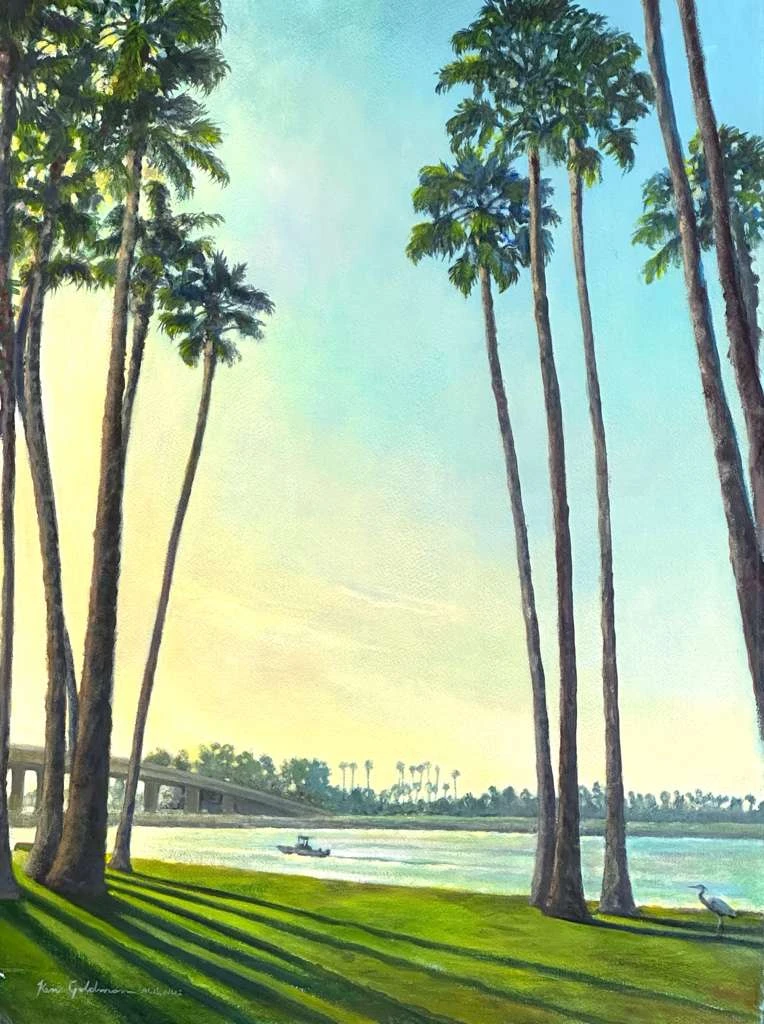
We’ll explore how composition, value, color, and design work together to create depth. As we paint natural and coastal scenes, I’ll show you how to simplify what you see, suggest distance without unnecessary detail, and capture the changing character of water, sky, and light.
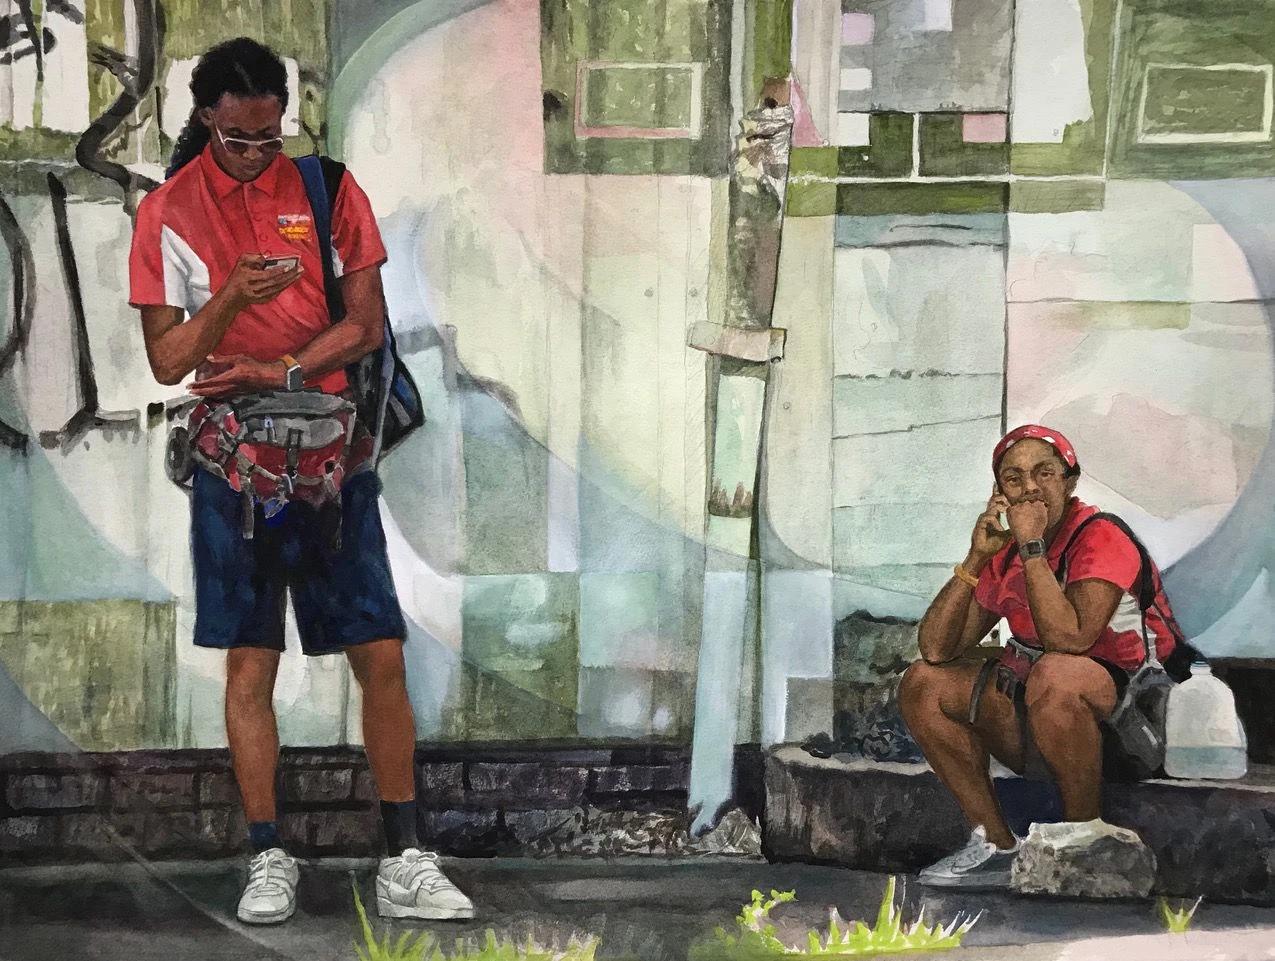
You’ll also discover my personal approach to watercolor, combining transparent washes and glazes with selective opaque accents for stronger light, contrast, and texture. In several paintings, we’ll experiment with watercolor paper prepared with an acrylic ground and see how it can change the character of color and the painting itself.
My goal is to help you move beyond simply copying a landscape and start making confident artistic choices that bring your paintings to life.
Who will find this course useful
This course is for beginner and intermediate artists who want to feel more confident with watercolor and bring more freedom into their landscape painting.
It will be especially useful if you want to better understand color, water, and layering, learn to capture the movement and mood of nature without overworking every detail, and create compositions that still feel balanced and harmonious.
I’ll also help you make more independent artistic choices and gradually develop a personal style that feels expressive and truly your own.
Course program
Lesson 1
Getting to know your teacher
An introduction to the course and a warm welcome from the teacher.
Lesson 2
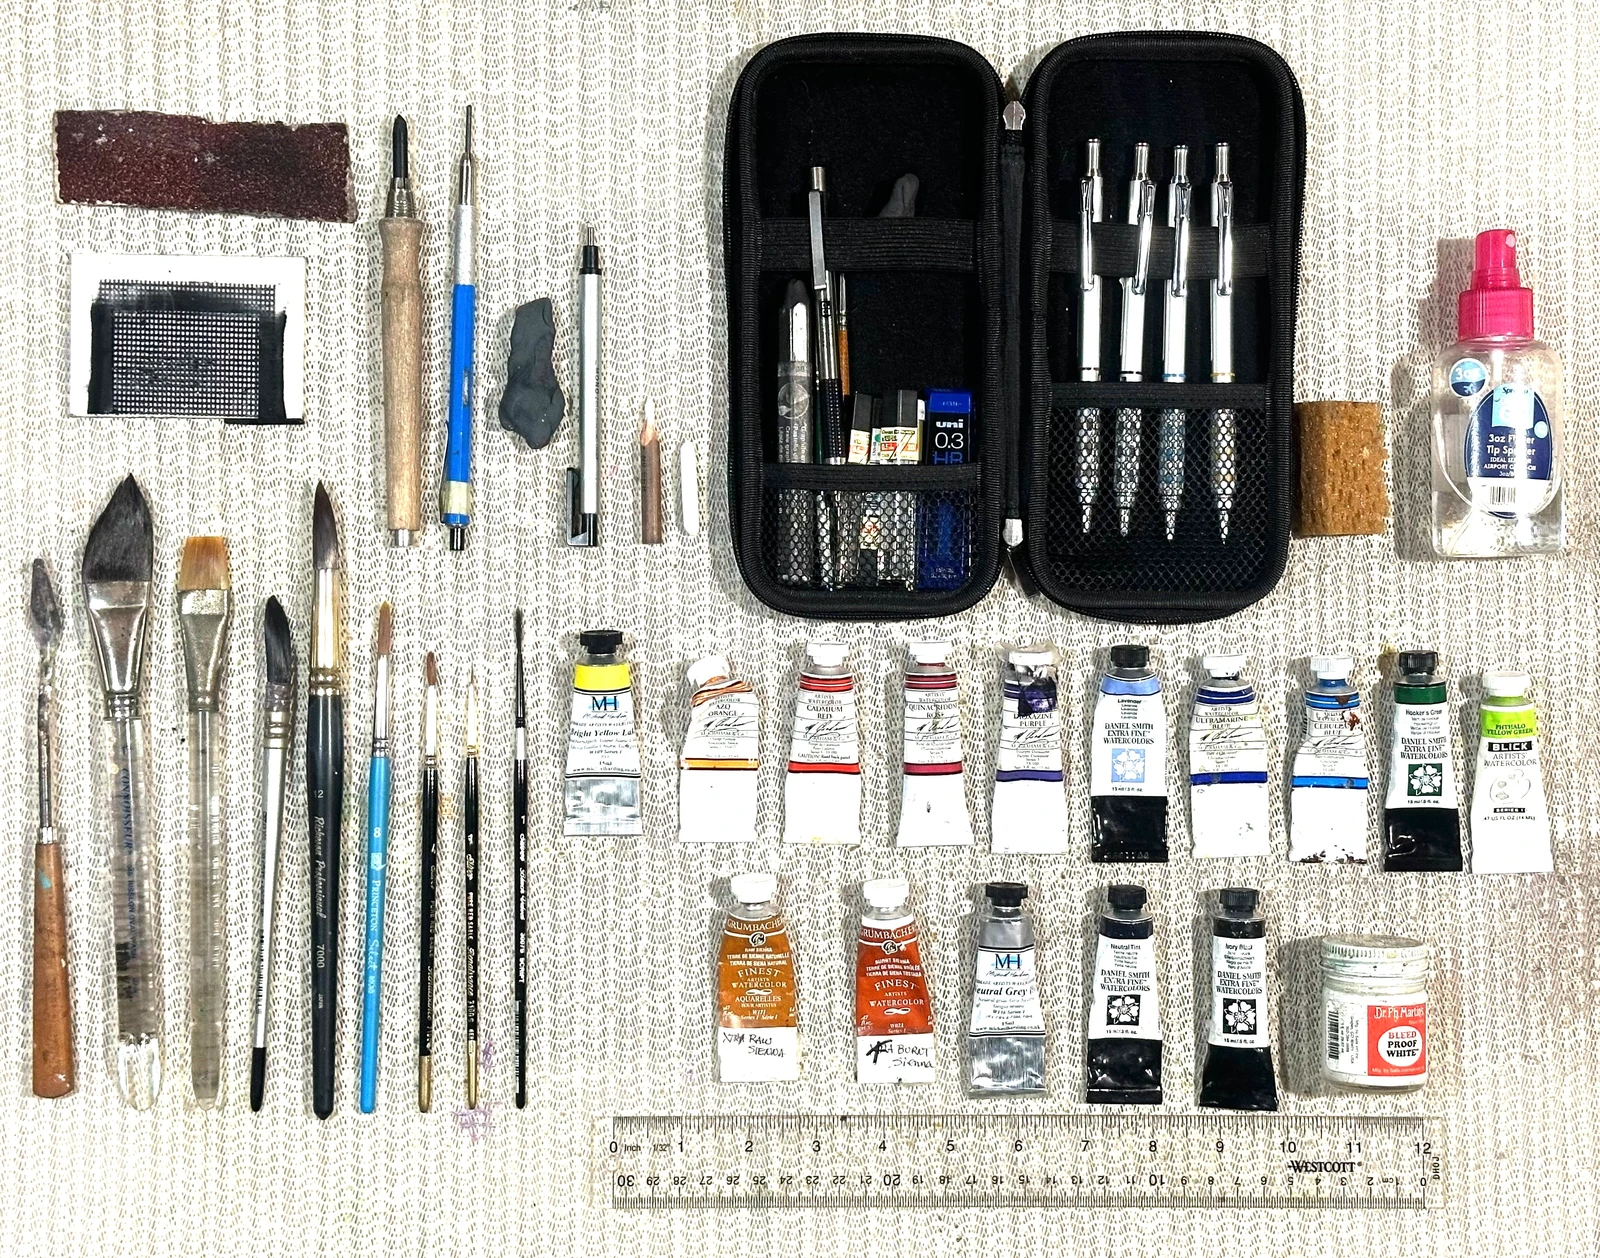
List of materials
In this lesson, I’ll show you the materials I use and what you’ll need to follow along with the course.
Lesson 3
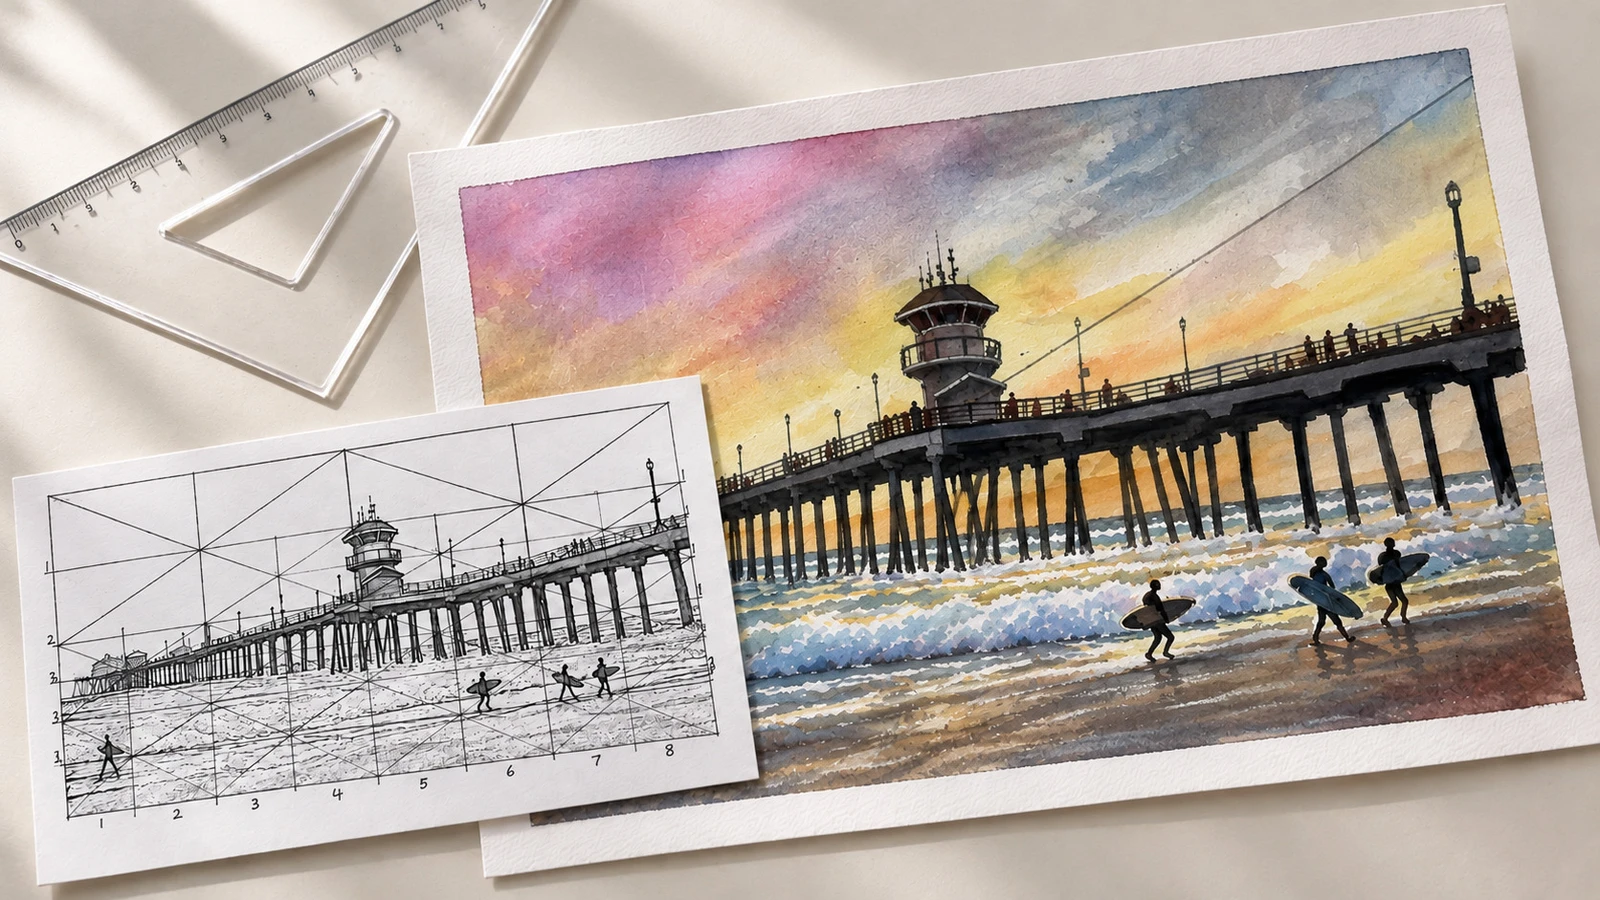
Enlarging the Sketch: Transferring It to Watercolor Paper
This lesson is about making a small sketch work on a larger scale without losing its proportions. I’ll show you how to use a multi-line grid to transfer even a complex composition onto watercolor paper more accurately and with much more confidence.
Lesson 4
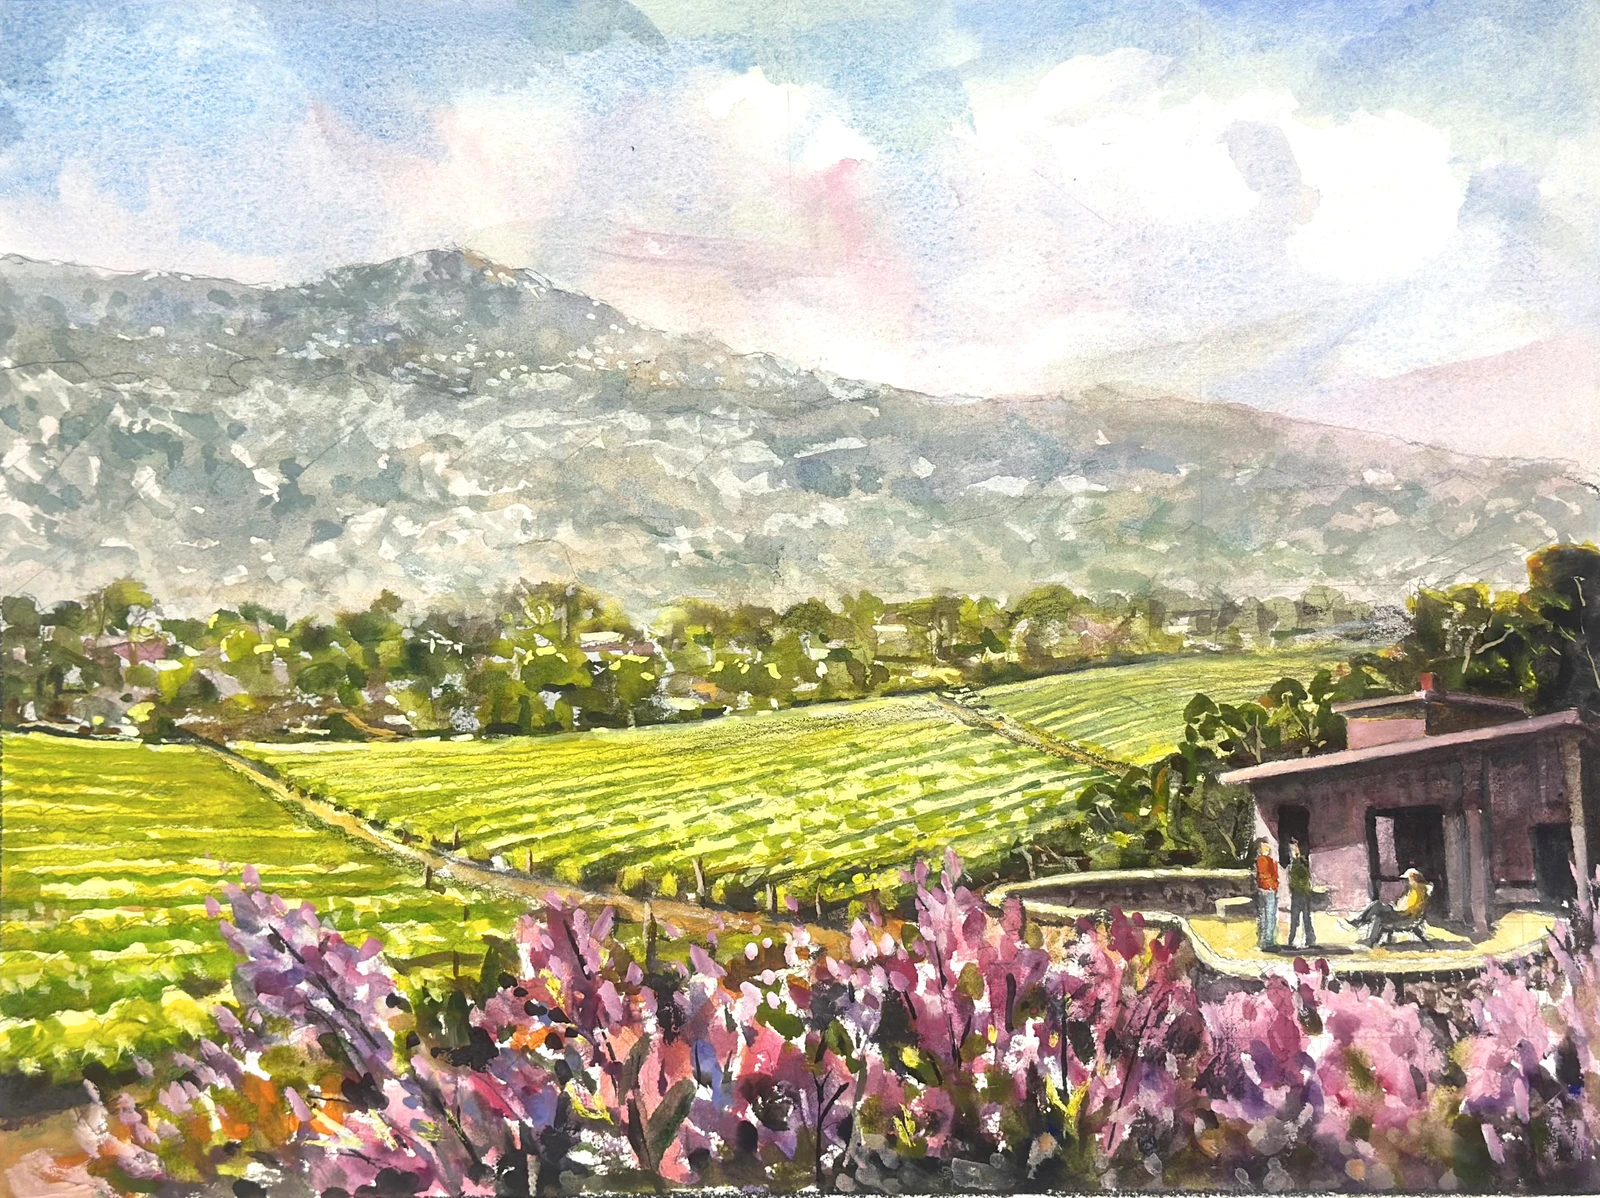
House by the Vineyard
Duration: 2 hours 40 minutes
This lesson is about building convincing depth in a complex countryside scene. We’ll use perspective, value, transparent washes, and selective opaque accents to lead the eye from the vineyard to the distant mountains.
You will learn to:
- build depth with perspective and scale;
- organize a complex landscape into clear shapes;
- move from transparent washes to opaque accents;
- simplify foliage, architecture, and foreground details.
Lesson 5
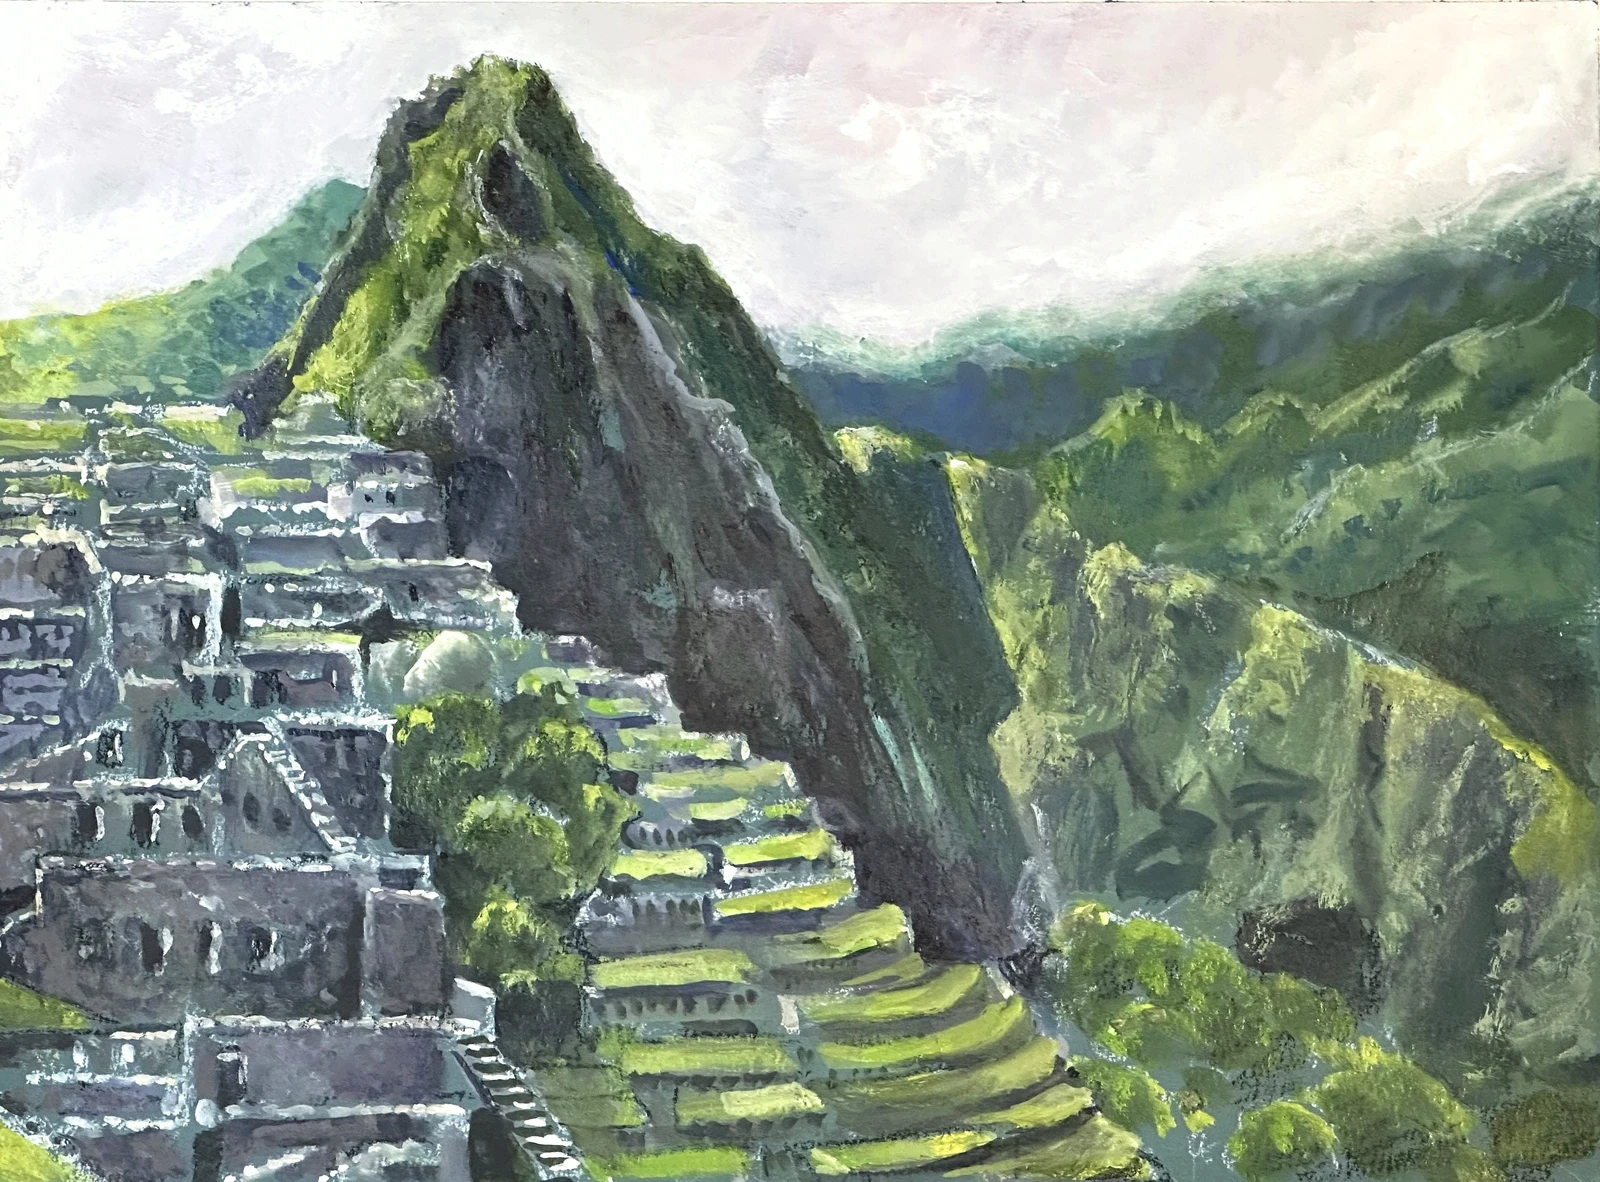
The Lost City—Machu Picchu
Duration: 3 hours
Here we’ll take a different approach to watercolor by working on an acrylic-toned surface. We’ll build the scene through large value shapes, adding light with opaque color instead of preserving the white paper.
You will learn to:
- work on an acrylic-toned watercolor surface;
- simplify a complex scene into large value masses;
- build lights with opaque watercolor;
- create distance through temperature, edges, and contrast.
Lesson 6
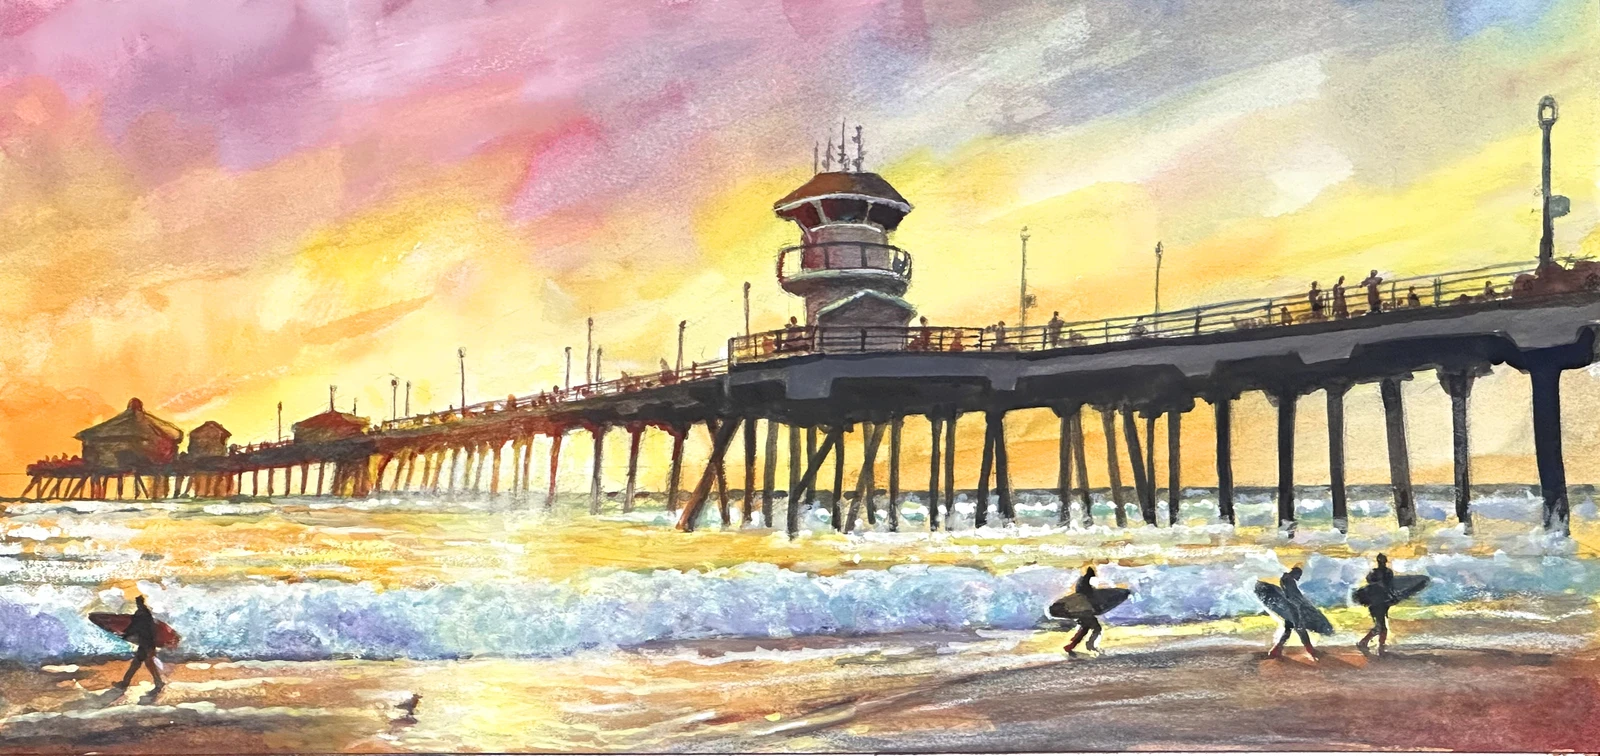
The Golden Pier
Duration: 4 hours
We’ll paint a glowing sunset where light, water, and strong silhouettes do most of the work. The focus will be on preserving luminosity while balancing warm sky colors with cool shadows and dark pier shapes.
You will learn to:
- create luminous sunset light;
- build perspective and strong silhouettes;
- balance warm and cool color relationships;
- use opaque white and pastel for foam and highlights.
Lesson 7
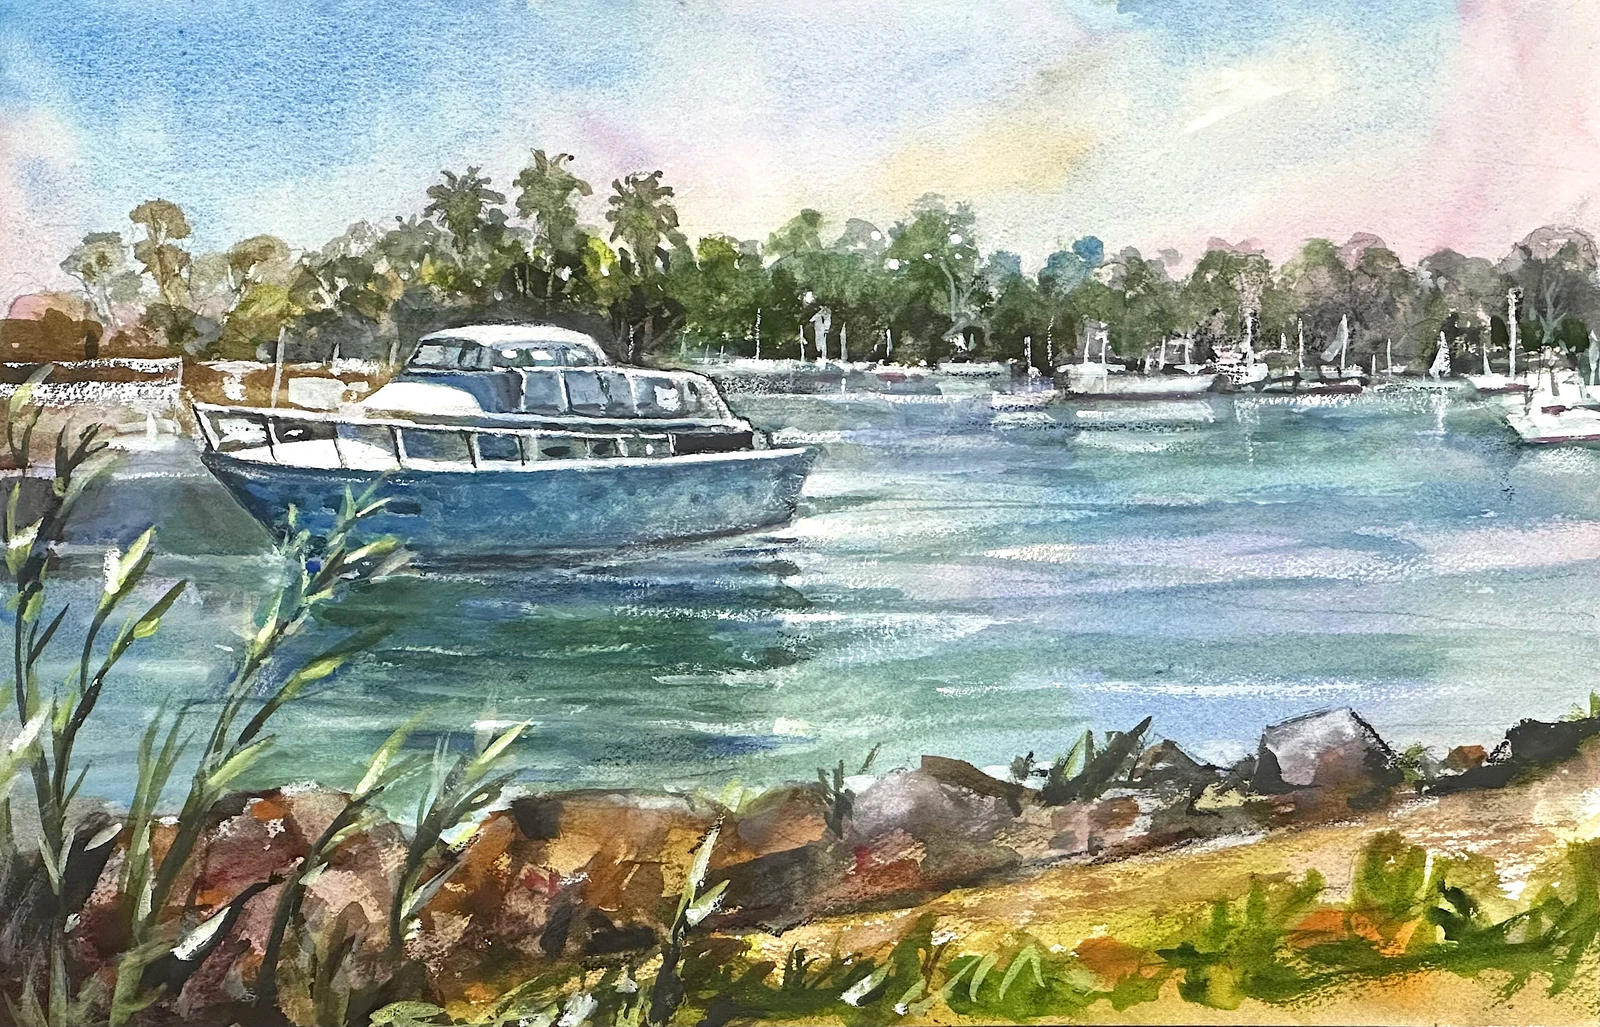
The Quiet Harbor
Duration: 2 hours
This lesson is about creating calm through color, simplicity, and restraint. We’ll build a blue-dominant harbor and use soft reflections and small warm accents to guide the eye.
You will learn to:
- plan color and value with thumbnail studies;
- build harmony around a dominant color;
- paint soft reflections and distant forms;
- use warm accents to strengthen the focal area.
Lesson 8
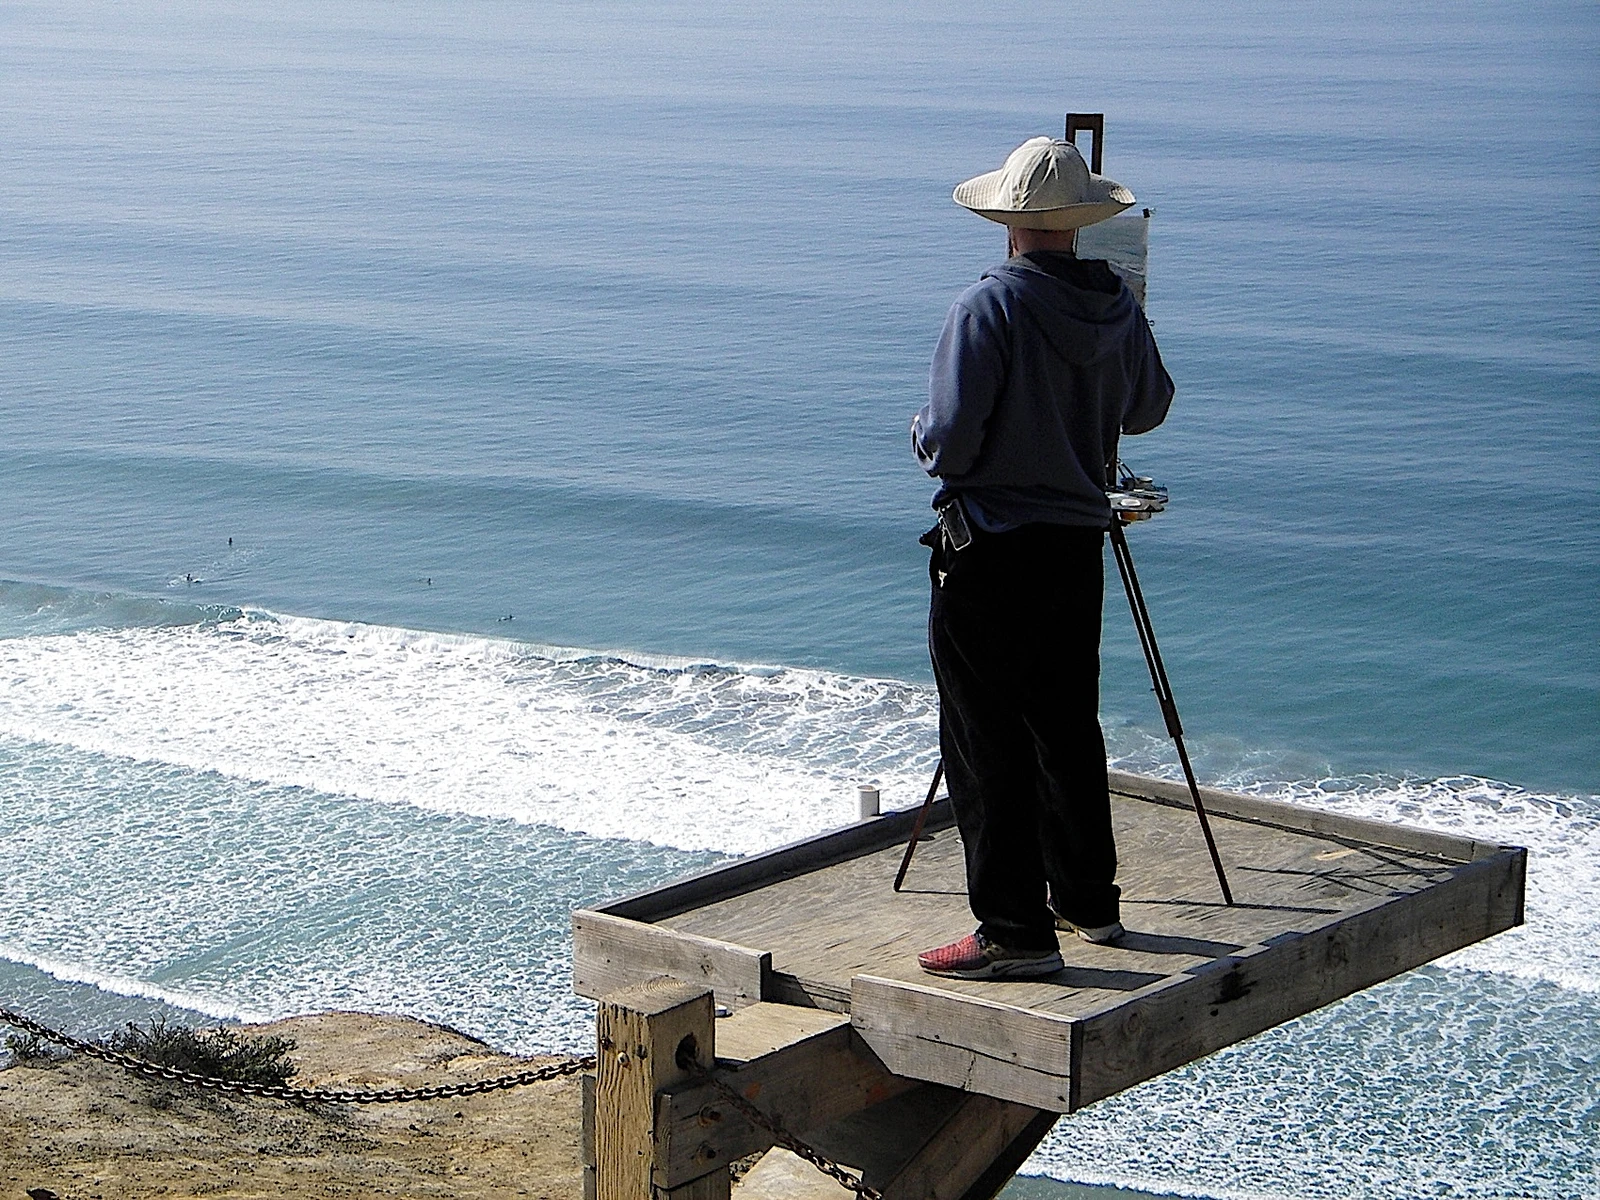
From the Museum to the Visual Arts: My Creative Journey
This lesson is about understanding how an artist’s path truly takes shape. I’ll share how experience, experimentation, and different creative disciplines can influence your vision, helping you build a more personal, confident, and open approach to art.
Lesson 9
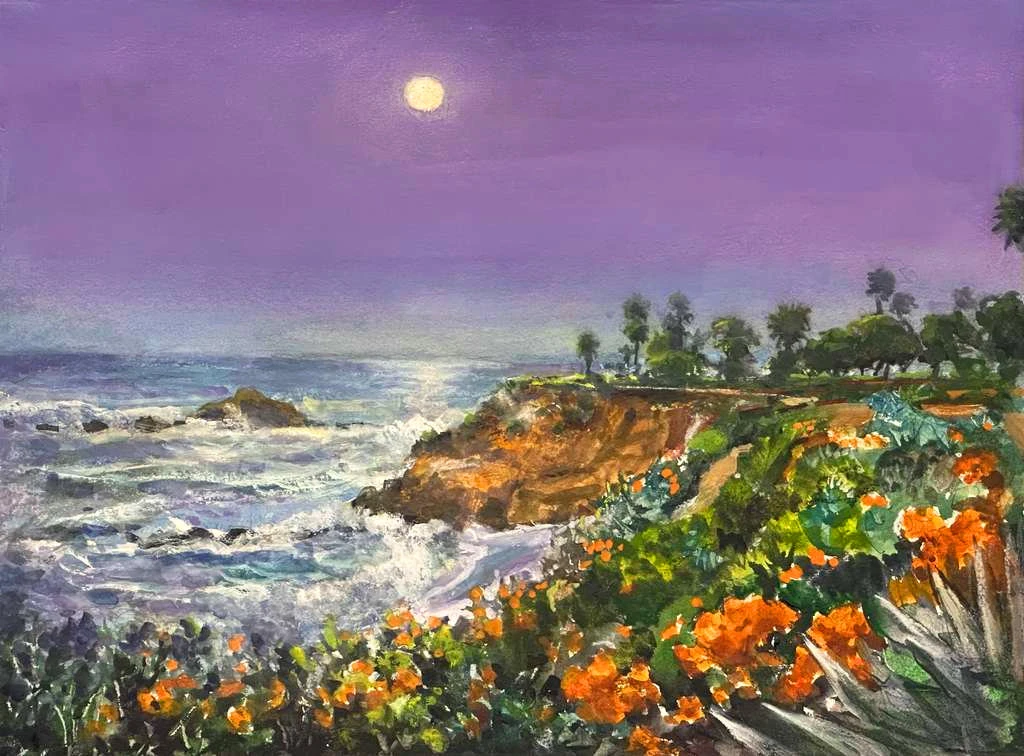
The Lilac Moonglow
Duration: 3 hours 30 minutes
In The Lilac Moonglow, we’ll create the quiet glow of a moon setting over the ocean. Layered lilacs, turquoise, soft edges, and deeper values will help turn the scene into a misty early-morning atmosphere.
You will learn to:
- create a convincing moonlit atmosphere;
- build smooth layered color transitions;
- balance cool hues with warm accents;
- use opaque white and pastel to enhance glow and mist.
Lesson 10
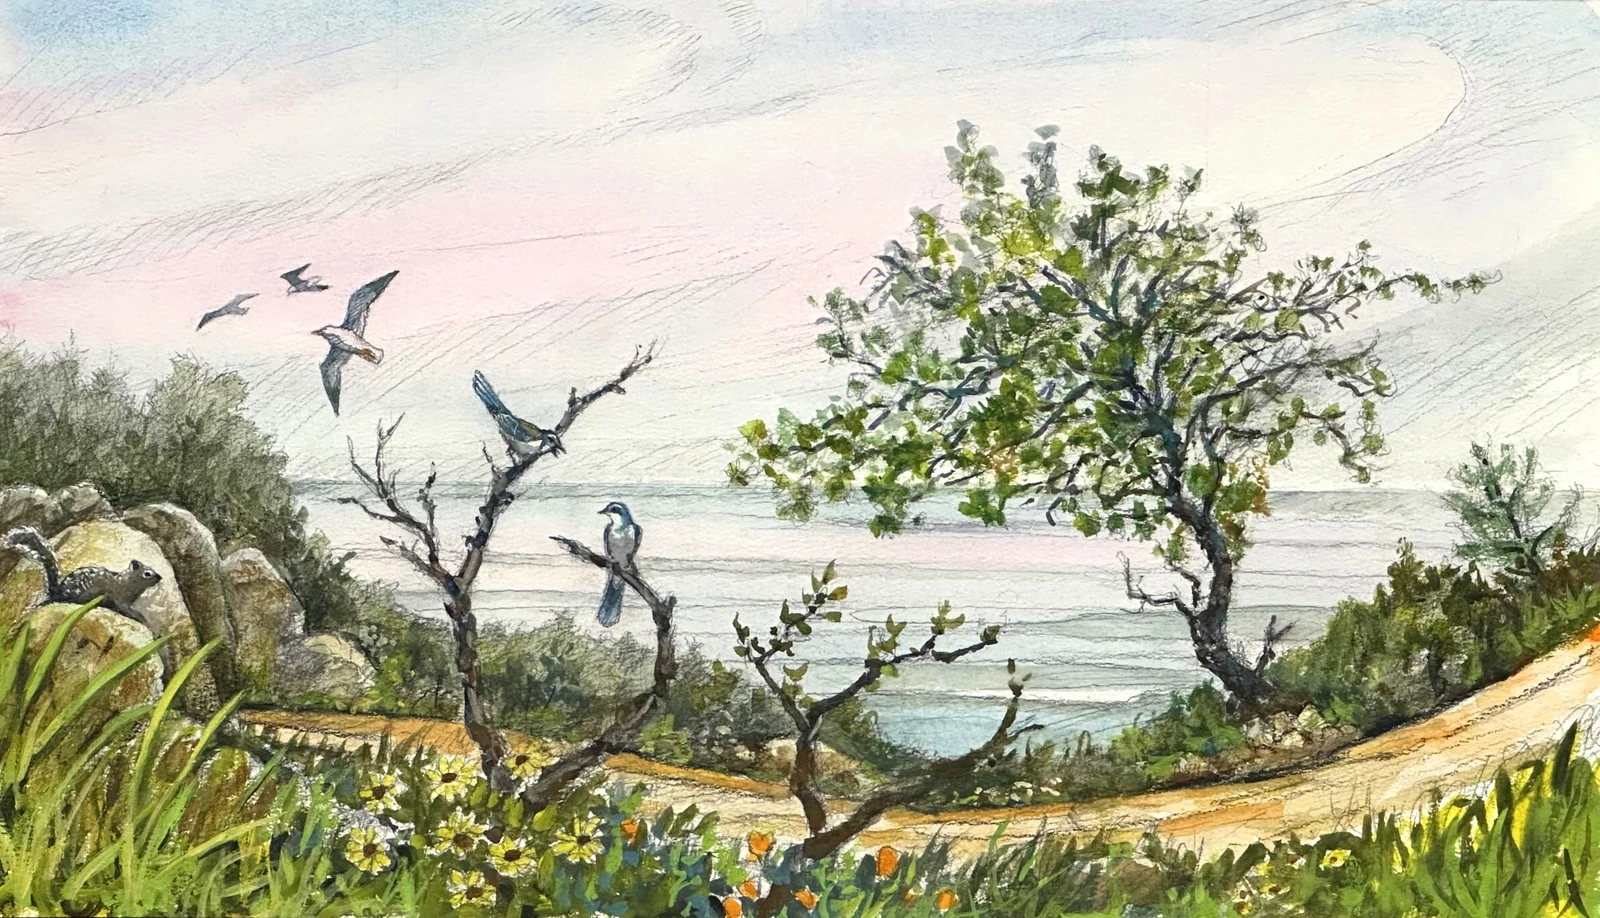
Misty Haze
Duration: 3 hours
Here the drawing becomes part of the painting rather than disappearing beneath it. We’ll build texture and value with crosshatched graphite, then glaze transparent watercolor over the top.
You will learn to:
- build form and value with crosshatching;
- use graphite as the foundation of a painting;
- glaze transparent watercolor over pencil;
- preserve graphic texture while creating atmospheric depth.
Lesson 11
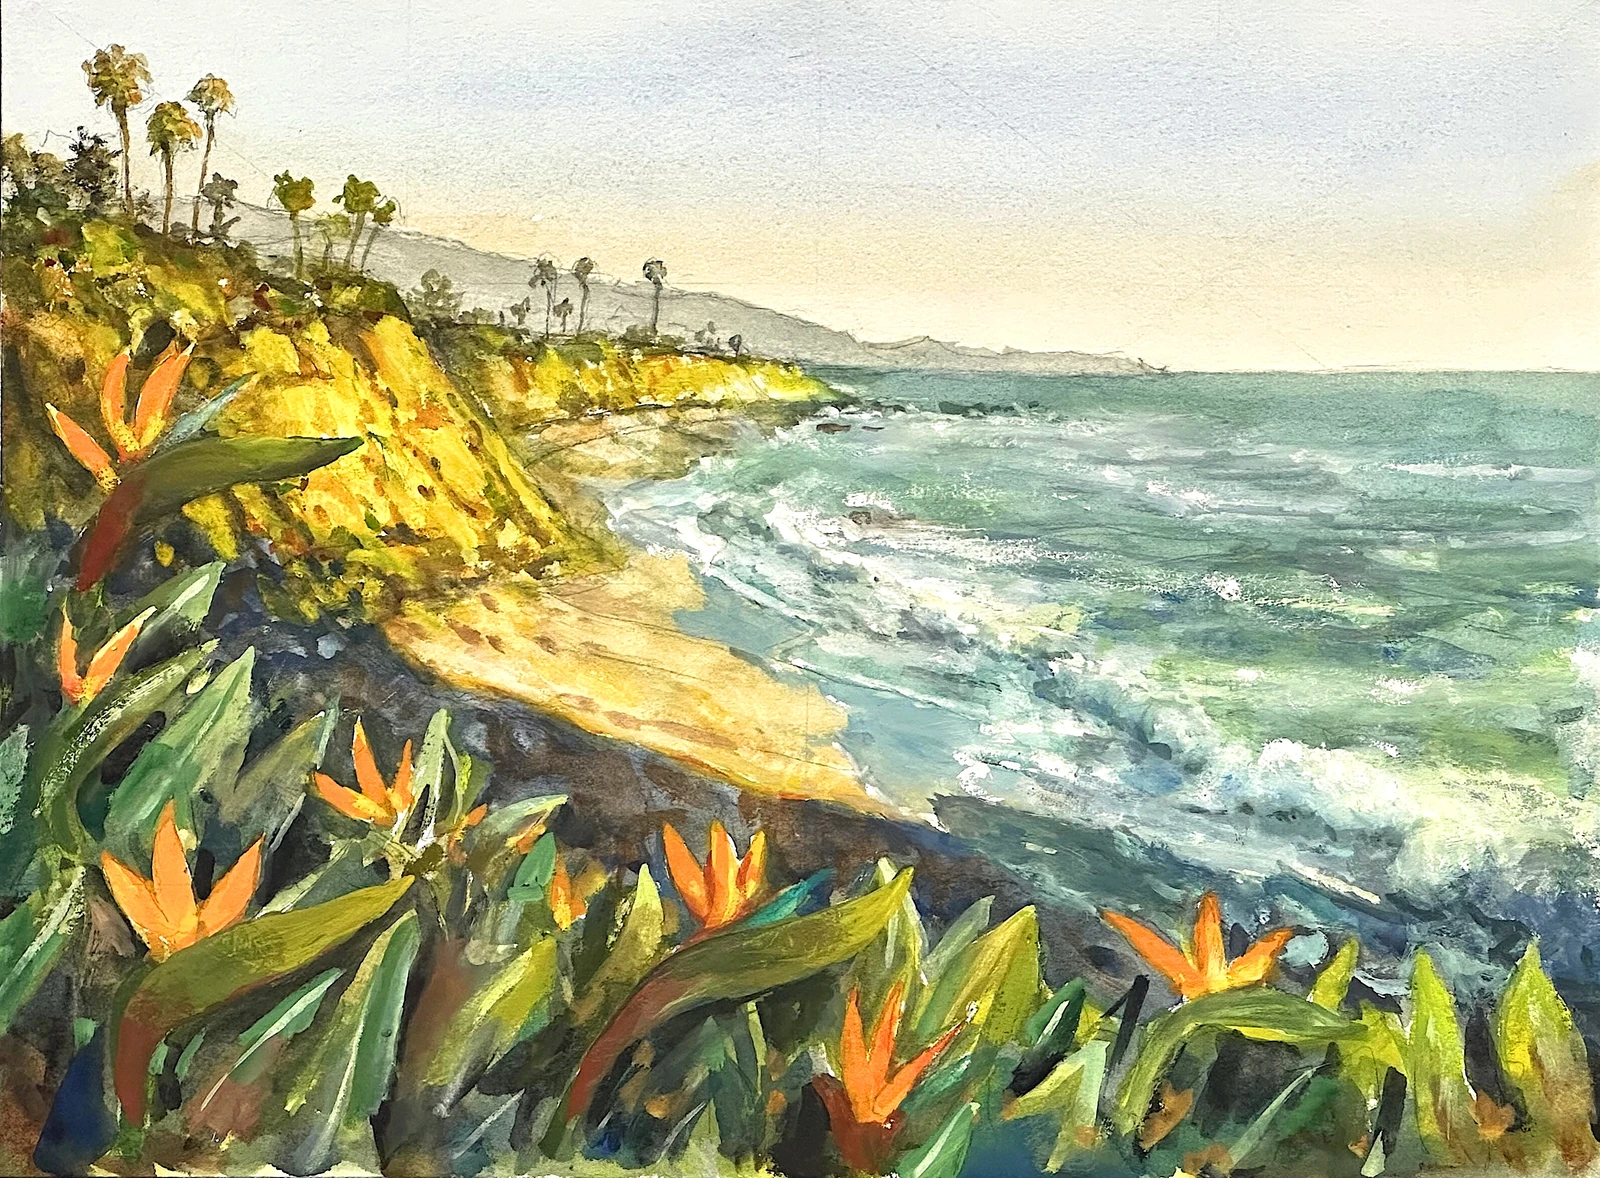
The Blooming Cape
Duration: 3 hours 25 minutes
We’ll paint a vivid coastal scene where bright flowers pull the eye into the foreground and the landscape gradually softens toward the horizon. The main focus is on contrast, aerial perspective, and keeping the details loose.
You will learn to:
- plan a composition with thumbnails and the rule of thirds;
- create aerial perspective with value and temperature;
- use complementary colors to strengthen focal areas;
- suggest flowers, waves, and foliage with loose detail.
Lesson 12
Flight Over the Peaks
Duration: 3 hours 20 minutes
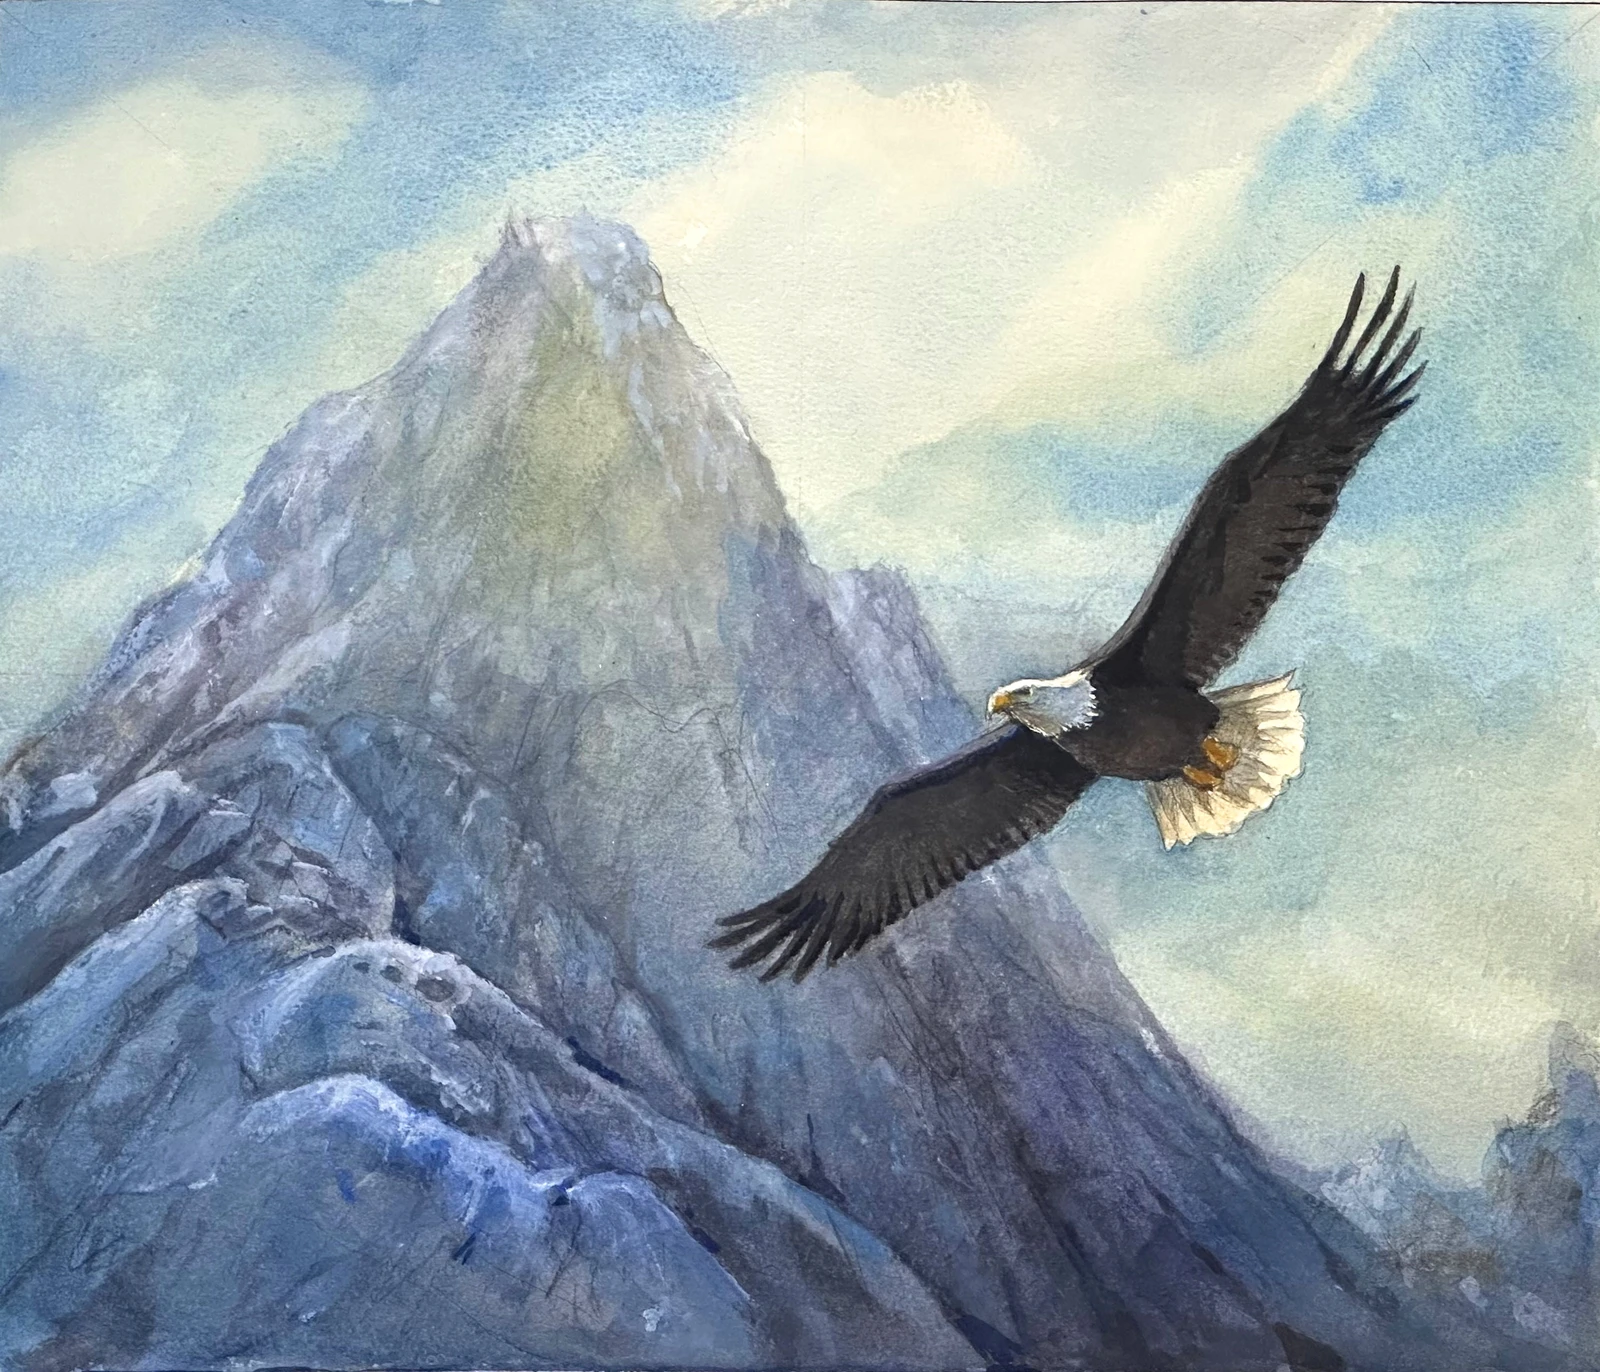
This painting is built around one dramatic focal point: an eagle crossing a misty mountain range. We’ll use soft edges, atmospheric washes, and selective contrast to make the bird stand out while the peaks recede into haze.
You will learn to:
- draw the eagle using proportion and negative space;
- build a strong focal point with silhouette and contrast;
- create misty mountain depth with soft edges;
- combine transparent and opaque watercolor techniques.
Lesson 13
Course conclusion
Our course has come to an end. Let’s look back at what we’ve learned and talk about how you can continue growing with more confidence and freedom in your creative practice.
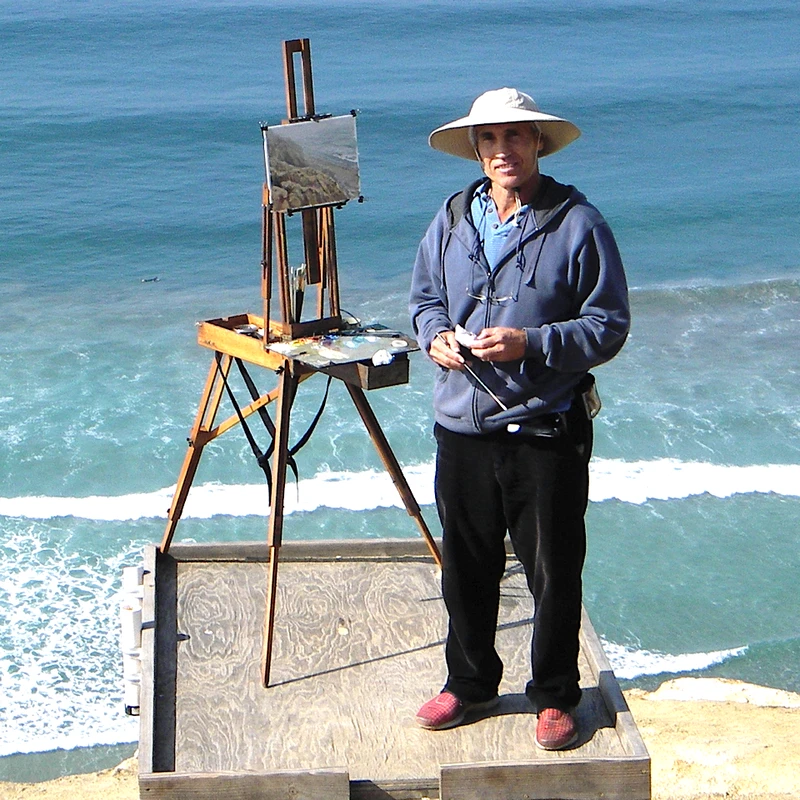
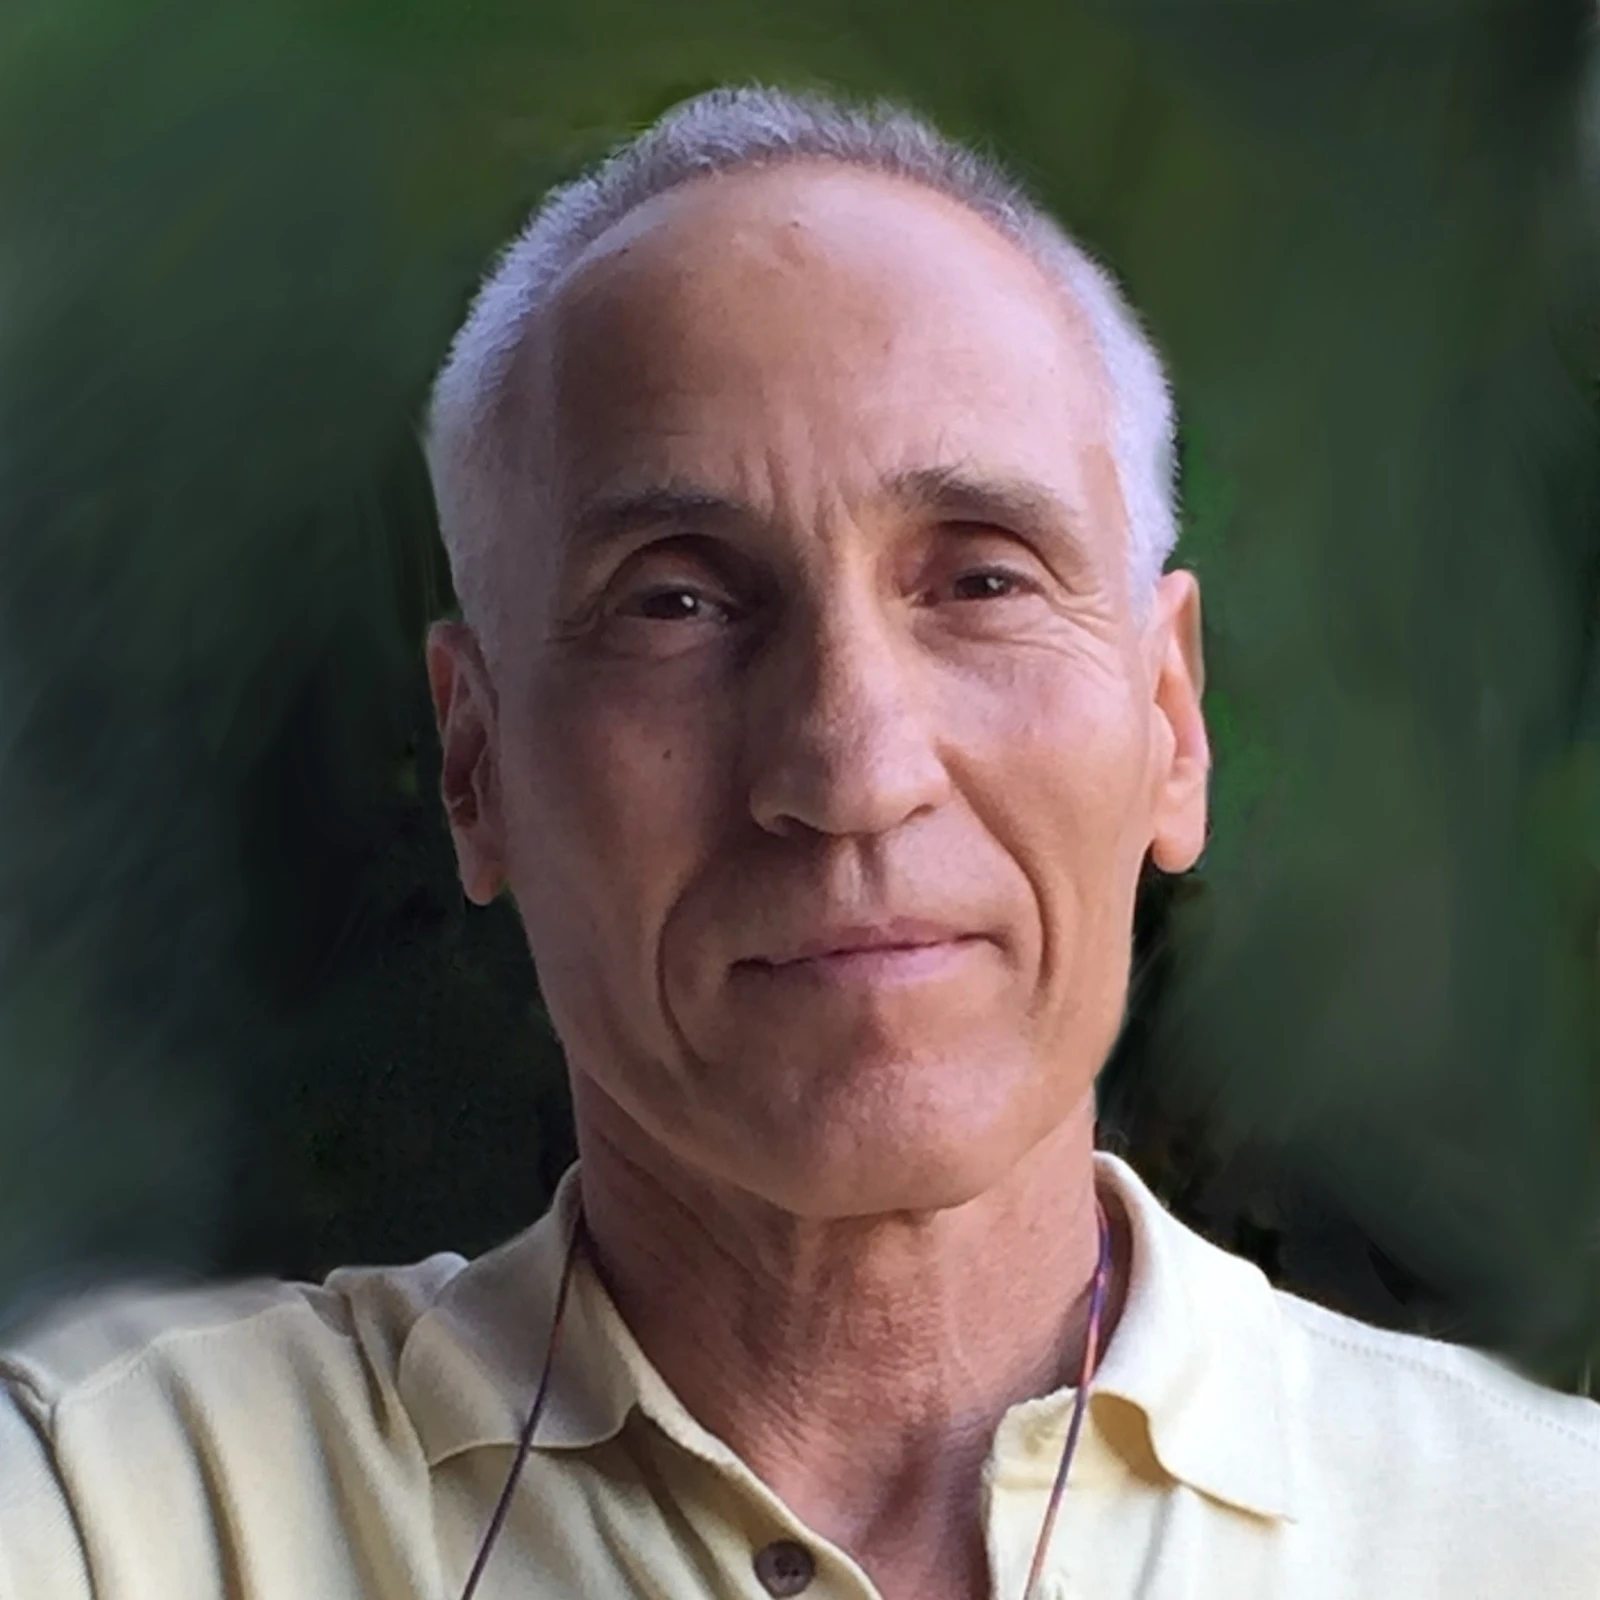
Ken
GoldmanWatercolor artist
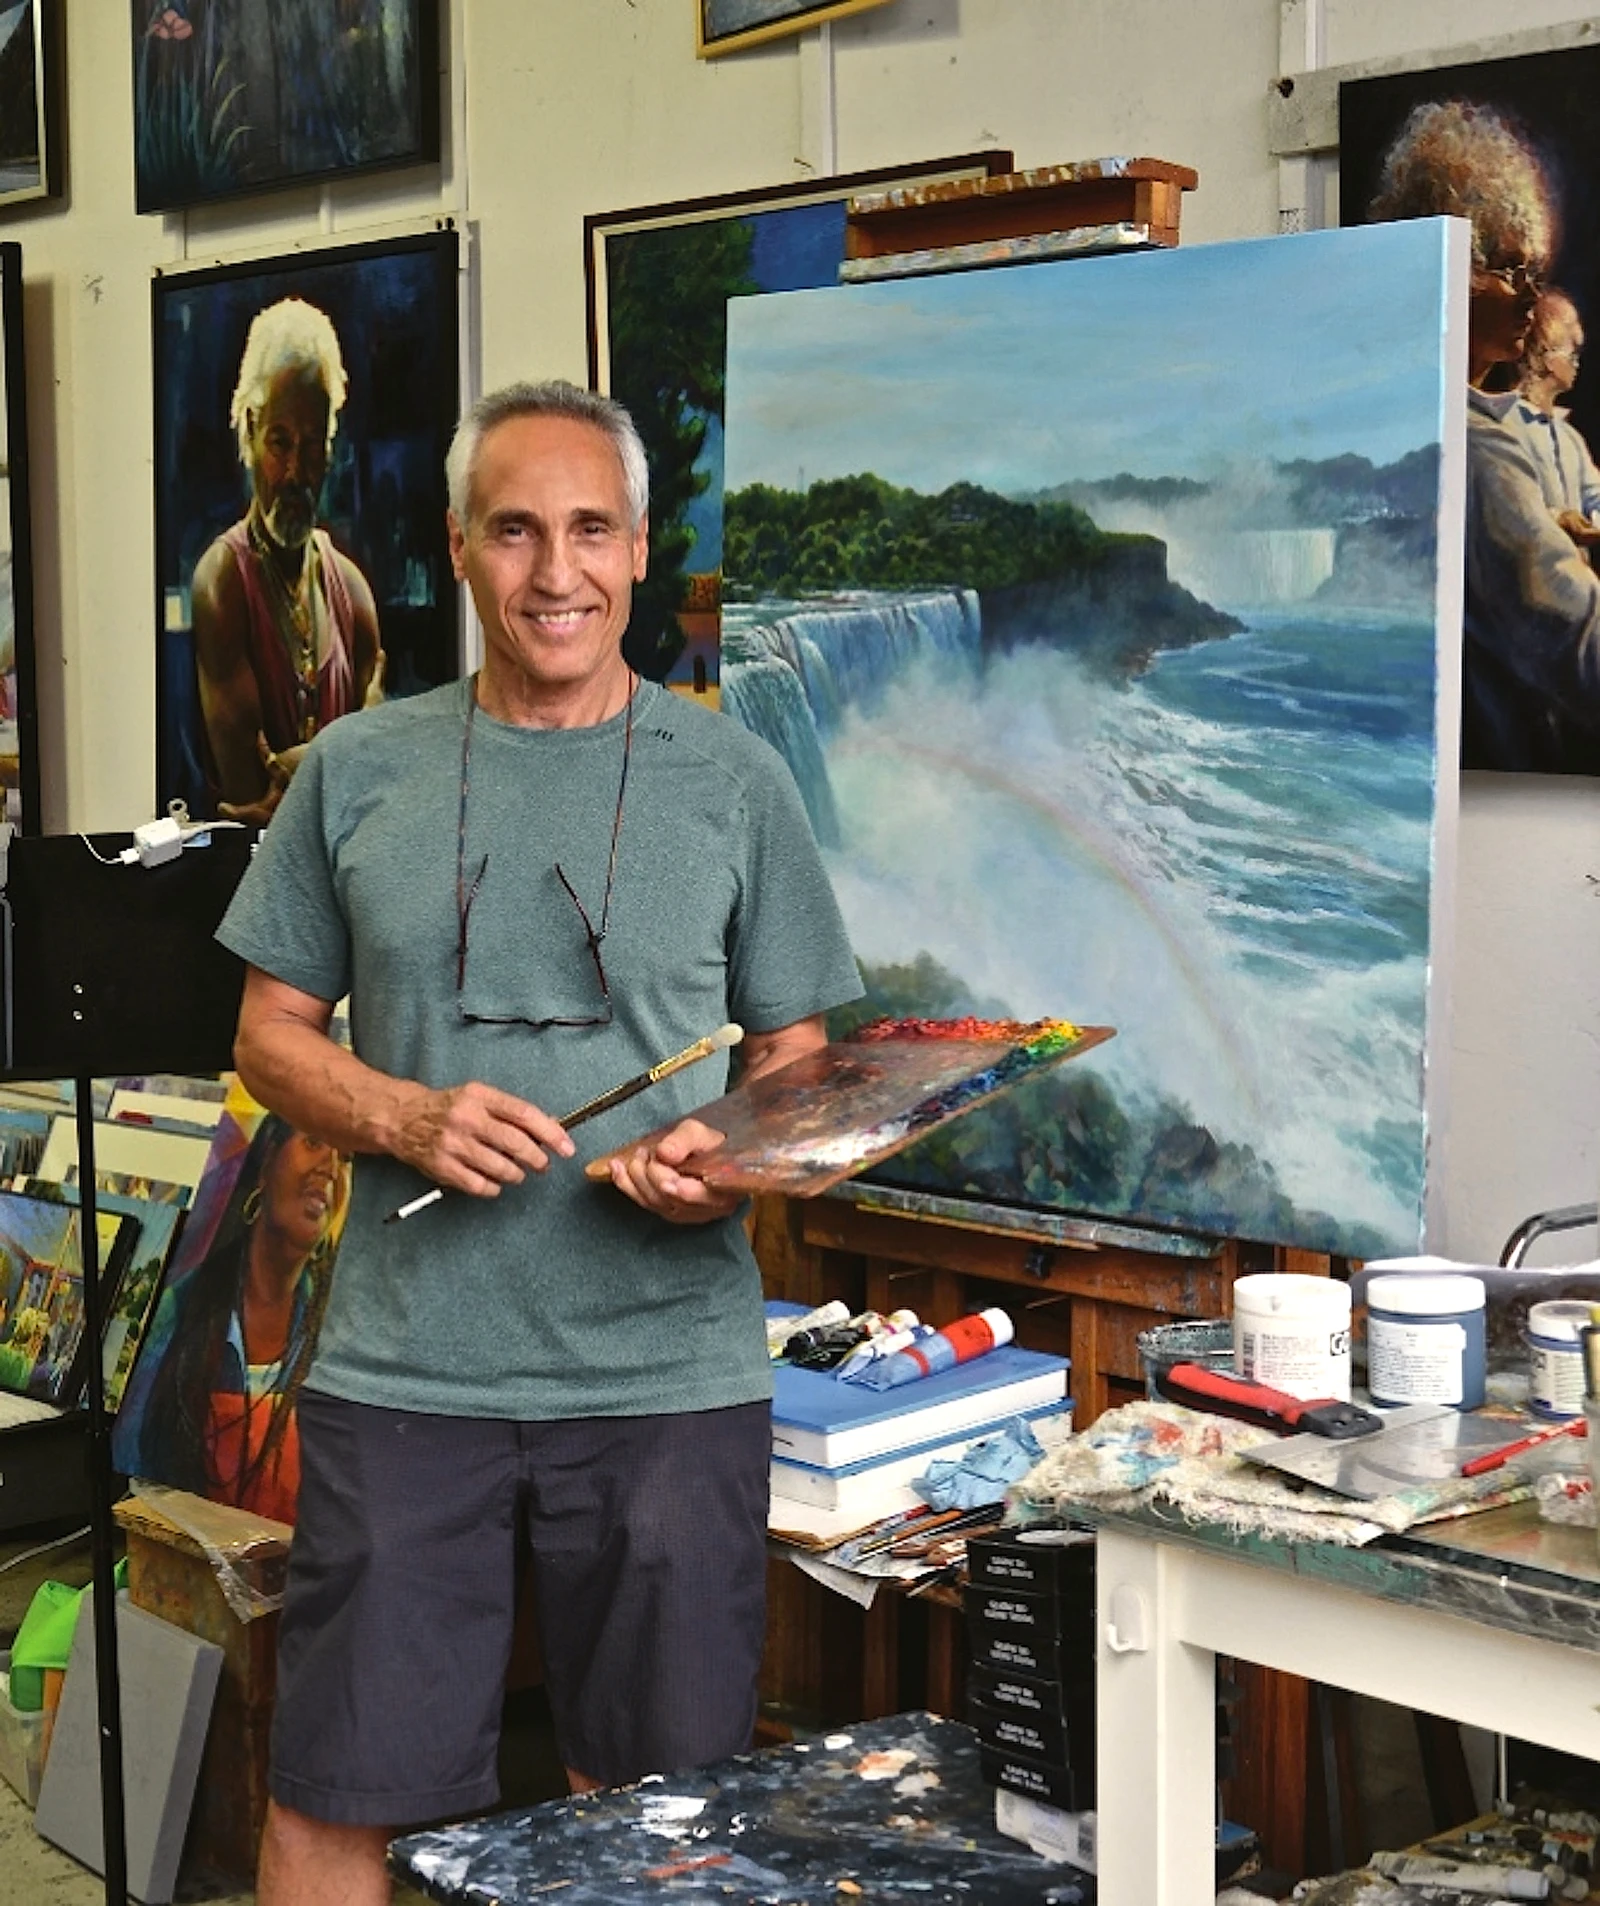
 I’ve been working as a professional artist since 1972 and teaching art since 1984;
- My work has been exhibited internationally in the United States, Europe, Asia, and Latin America;
- My paintings are held in the permanent collections of several museums and art institutions, including the San Diego Museum of Art and the Hilbert Museum of California Art;
- I’m the author of 17 instructional books on pastel, acrylic, charcoal, and artistic anatomy;
- My work has been featured in leading art publications, including The Art of Watercolour, International Artist, Southwest Art, and The Artist’s Magazine;
- I’m a former president of the National Watercolor Society.

Instructor'sWorks
Course materials
You don’t need to use the exact brands I use. Choose reliable materials you’re comfortable with and a setup that lets watercolor move naturally.
1. Paper:
- 140 lb watercolor paper, preferably cold press
- Arches is recommended, but other good-quality brands are suitable
- Masking tape or clips for securing the paper
2. Brushes:
- 1" oval wash brush
- ½" flat brush
- Medium mop brush
- Pointed round brushes: #12, #8, #4
- Small detail round brush
- Script/rigger brush
3. Watercolors:
- Cadmium Yellow Light
- Cadmium Yellow Deep
- Cadmium Red Light
- Quinacridone Rose or Alizarin Crimson
- Dioxazine Purple
- Ultramarine Blue
- Cerulean Blue
- Hooker’s Green or Sap Green
- Yellow-Green
- Raw Sienna
- Burnt Sienna
- Neutral Gray and/or Neutral Tint
- Ivory Black
- Titanium White or Dr. Martin’s Bleed-proof White
- Daniel Smith Lavender
Optional colors:
- Orange
- Turquoise
4. Drawing Tools:
- 2 mm mechanical pencil
- Mechanical pencils: 0.3, 0.5, 0.7, and 0.9 mm
- HB and 2B leads
- Kneaded eraser
- Tombow Mono-style pen eraser
- Cretacolor Nero Black or similar graphite/charcoal pencil
- White Conté pastel
- White Pitt or General pastel pencil
- Straightedge or ruler
5. Palette & Water
- Watercolor palette
- Deep palette wells or small bowls for large washes
- 3 water containers
- Paper towels or tissues
6. Additional Tools
- Palette knife
- Sponge
- Small spray bottle
- Large spray bottle
- Old credit card or similar scraping tool
- Coarse sandpaper or screen paper
- Ranger Heat-it Tool or another drying tool, optional
7. Work Surface
- Drawing board or other support
- Non-slip surface
- Approximate working angle: 20°
Pricing

- 13 lessons: theory + practice + developmental exercises
- 8 captivating landscapes from mountains to coasts
- Machine translated subtitles: English, German, French, Italian, Spanish, Greek, Polish, Portuguese, Hungarian, Chinese, Indonesian
- Course Unfreeze
- The opportunity to watch the analysis of other participants' artworks
- Access to course materials without time limits
- Review of your artworks and answers to questions in the comments for 60 days from the start of the course
- Personal one-hour online consultation with a course expert
- +20 bonus dollars! Can be used when purchasing a course at the next workshop. Valid for 3 months

- 13 lessons: theory + practice + developmental exercises
- 8 captivating landscapes from mountains to coasts
- Machine translated subtitles: English, German, French, Italian, Spanish, Greek, Polish, Portuguese, Hungarian, Chinese, Indonesian
- Course Unfreeze
- The opportunity to watch the analysis of other participants' artworks
- Access to course materials without time limits
- Review of your artworks and answers to questions in the comments for 60 days from the start of the course.
- Personal one-hour online consultation with a course expert
- +20 bonus dollars! Can be used when purchasing a course at the next workshop. Valid for 3 months
FREQUENTLY ASKED QUESTIONS
- I can’t draw at all. Should I take the course?
-
Of course you should! The course is designed so that it starts with simple paintings and then progresses to more complex ones, allowing you to smoothly integrate into the process and achieve high results!
The course will also be beneficial for experienced artists. You will further refine your technique and enhance your visual understanding.
- How is the feedback organized?
-
At the end of the lesson, you will upload a photo of your work. The teacher will have the opportunity to leave textual, graphic (annotations on the drawing), as well as audio comments on your work.
At the bottom of each lesson, there will be a comment section where you can ask any questions related to the learning process.
- How long will the training take?
-
If you have a plan without feedback, it will depend on your personal pace at which you complete the lessons.
With plans that include feedback, we actively conduct lessons for two months from the moment you “unfreeze” the course.
Overall, I recommend taking the course at a relaxed pace. Enjoy the process more!
- I am 67 years old, will I be able to learn to draw such illustrations in the course?
-
It’s never too late to learn to draw. In our school, 30% of students are over 50 years old. They enjoy drawing, developing their skills, creative thinking, and rejuvenating their spirit and mind!
Feedback
Didn't find the answer to your question? Message us on WhatsApp or Telegram.